
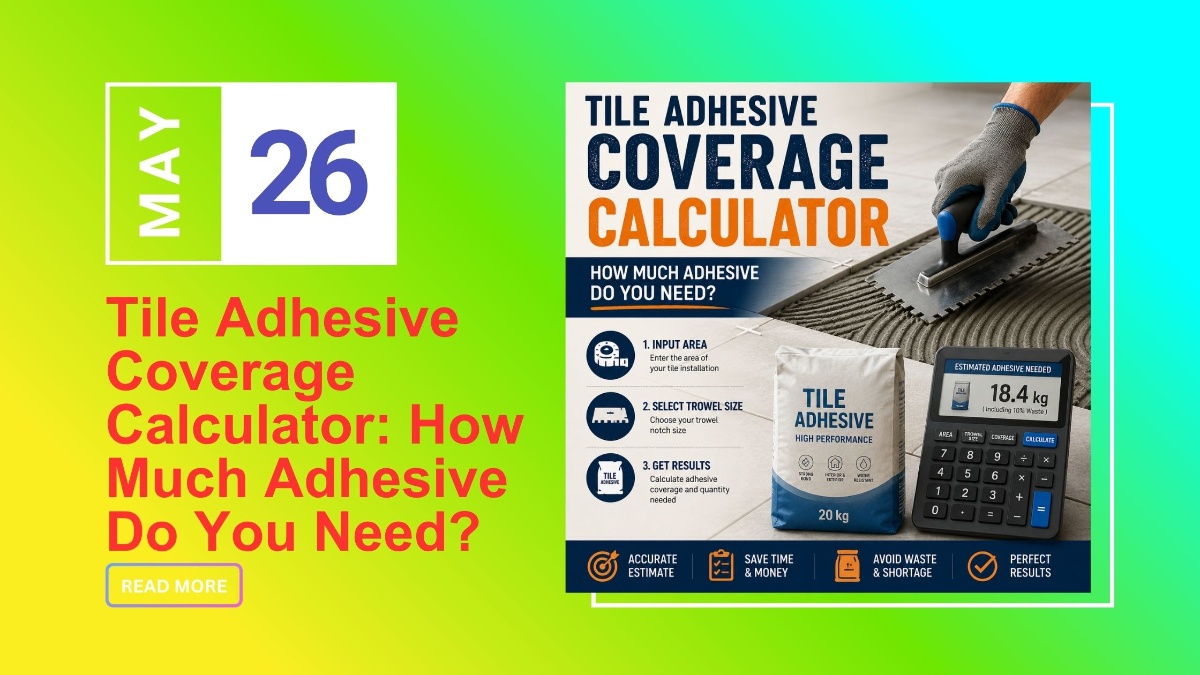
Planning a tile installation project is not just about choosing the right tile design. Calculating the correct amount of adhesive is equally important for achieving durable and professional results. Whether you are renovating a bathroom, installing kitchen tiles, or working on a large commercial flooring project, proper adhesive estimation helps avoid unnecessary material waste and project delays.
Many homeowners and contractors struggle to estimate how much adhesive is actually required for a specific area. Buying too little can interrupt installation work, while excess material increases overall project costs. This is why using a tile adhesive coverage calculator has become an essential part of modern tiling projects.
A proper estimation method helps determine adhesive consumption based on tile size, surface condition, trowel notch size, and installation type. It also improves budgeting accuracy and ensures better tile bonding performance over the long term.
A tile adhesive coverage calculator is a practical tool used to estimate how much adhesive is required for a tile installation project. It calculates adhesive consumption based on important factors such as tile size, surface area, substrate condition, adhesive thickness, and trowel notch size.
Instead of relying on manual estimation or guesswork, contractors and installers use a tile adhesive calculator to improve accuracy, reduce material wastage, and plan projects more efficiently. Proper calculation also helps maintain consistent adhesive application and ensures better tile bonding performance.
The calculator typically considers:
Total tiling area
Tile dimensions
Trowel notch size
Surface leveling condition
Wall or floor application
Type of adhesive used
These factors directly affect adhesive consumption and overall coverage efficiency, which is why material usage can vary from one project to another.
For example, large-format tiles usually require thicker adhesive application compared to smaller ceramic tiles. Similarly, uneven surfaces consume more adhesive because additional material is needed for leveling and proper tile support.
Using the correct adhesive estimation method helps:
Avoid material shortages
Reduce unnecessary wastage
Improve installation planning
Maintain consistent bonding strength
Control overall project costs
Whether you are installing residential wall tiles or large commercial floor slabs, accurate adhesive estimation plays an important role in achieving durable and professional tile installation results.
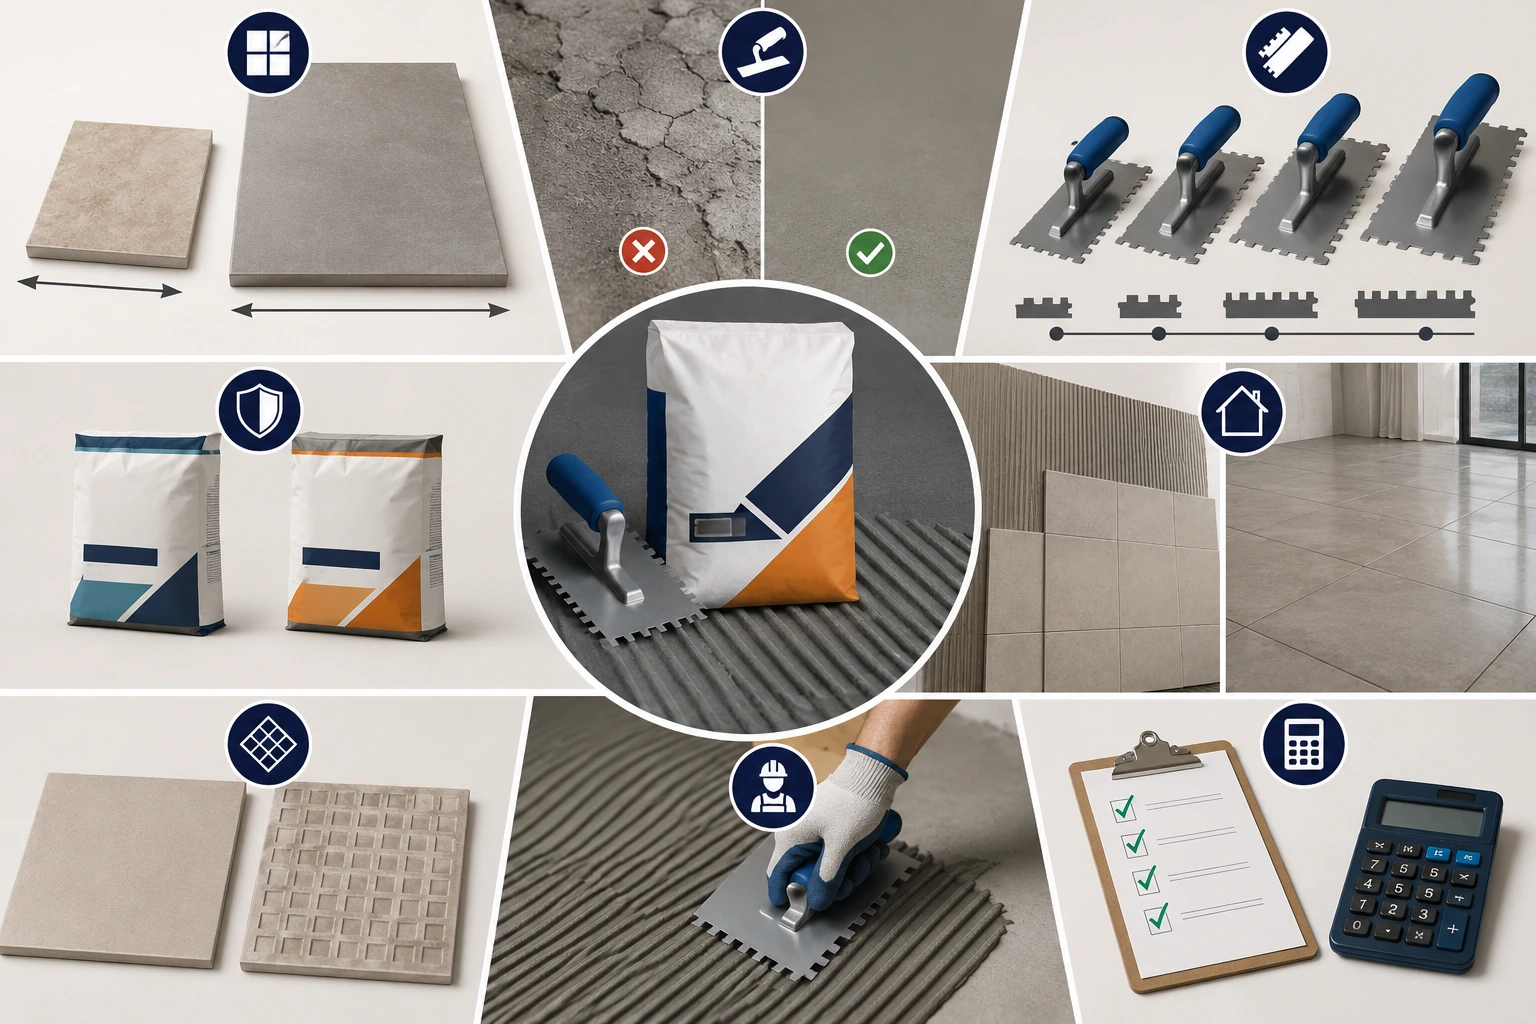
Many people assume adhesive consumption remains the same for every project, but in reality, several factors influence actual usage. Understanding these factors helps improve estimation accuracy and allows you to use a tile adhesive coverage calculator more effectively.
The amount of adhesive needed can vary significantly depending on tile type, installation method, and surface condition. Below are the most important factors that affect tile adhesive coverage per sqm.
Tile dimensions play a major role in adhesive consumption. Larger and heavier tiles require thicker adhesive beds to ensure proper support and bonding strength.
For example:
Small ceramic tiles usually consume less adhesive
Large vitrified tiles and slabs require higher adhesive quantity
Large-format tiles also need better surface contact to prevent hollow spots and tile lifting. This naturally increases the overall adhesive quantity for tiles.
An uneven wall or floor requires additional adhesive for leveling purposes. Rough or damaged surfaces consume more adhesive because installers need extra material to achieve a flat finish.
Proper surface preparation can greatly reduce unnecessary adhesive usage and improve installation quality.
The size of the trowel notch directly impacts adhesive thickness and coverage.
Common trowel sizes include:
6 mm notch
8 mm notch
10 mm notch
12 mm notch
A larger notch spreads more adhesive, which reduces total coverage area per bag. Choosing the correct trowel size is essential when using a tile adhesive calculator.
Different adhesive formulations offer different coverage capacities. High-performance adhesives often provide:
Better spreadability
Improved bonding
Higher coverage efficiency
Premium adhesives can sometimes reduce total material consumption compared to lower-grade products.
Wall tile adhesive coverage is generally lower than floor tile consumption because wall tiles often require thinner adhesive application.
On the other hand, adhesive for floor tiles usually needs thicker application to handle heavy loads, foot traffic, and tile movement resistance.
Floor installations, especially with large-format tiles, may also require double spreading or back buttering techniques, which increase adhesive usage.
Tiles with deep grooves or textured backs consume more adhesive because the material must fill these patterns completely for proper bonding.
Smooth-back tiles generally require less adhesive compared to heavily textured porcelain or vitrified tiles.
The installer’s application method also affects adhesive consumption. Incorrect trowel angle, uneven spreading, or excessive adhesive thickness can increase wastage significantly.
Professional application techniques help maintain consistent adhesive thickness and improve overall coverage efficiency.
Understanding these variables is important when trying to calculate tile adhesive requirement accurately for any project. Proper planning not only reduces material wastage but also improves tile durability and installation performance.
One of the most common questions during any tiling project is: how much tile adhesive do I need? The answer depends on several factors, including tile size, surface condition, trowel notch size, and whether the application is for walls or floors.
Using a tile adhesive coverage calculator makes this process much easier and more accurate. Instead of estimating manually, you can calculate the required adhesive quantity based on actual project conditions.
Professionals usually follow a simple formula:
Adhesive Quantity = Total Area × Adhesive Consumption Rate
For example:
Total tiling area = 50 sqm
Average adhesive consumption = 4 kg per sqm
Required adhesive: 50 × 4 = 200 kg
This method helps installers quickly calculate tile adhesive requirement for both residential and commercial projects.
Measure the length and width of the area to be tiled.
Formula: Area=Length×Width
For example:
Room length = 5 m
Room width = 4 m
Total area: 20 sqm
Always include extra area for cuts and wastage.
Tile dimensions affect adhesive thickness.
Smaller tiles usually need less adhesive, while larger tiles require thicker adhesive application for proper support and leveling.
Typical examples:
Small ceramic tiles: lower consumption
Large vitrified slabs: higher consumption
This directly impacts tile adhesive coverage per sqm.
Trowel notch size determines how much adhesive is applied beneath the tile.
General recommendations:
6 mm notch for small wall tiles
8–10 mm notch for standard floor tiles
12 mm notch for large-format slabs
Larger notches increase adhesive usage but improve bonding strength for heavy tiles.
Uneven walls or floors require additional adhesive for leveling.
If the substrate has cracks, dips, or roughness, adhesive consumption increases significantly. Smooth and level surfaces provide better tile adhesive coverage guide accuracy.
Professional installers always add extra material to avoid shortages during installation.
Recommended wastage allowance:
5% for simple layouts
10% for complex designs or large-format tiles
This helps ensure uninterrupted installation work.
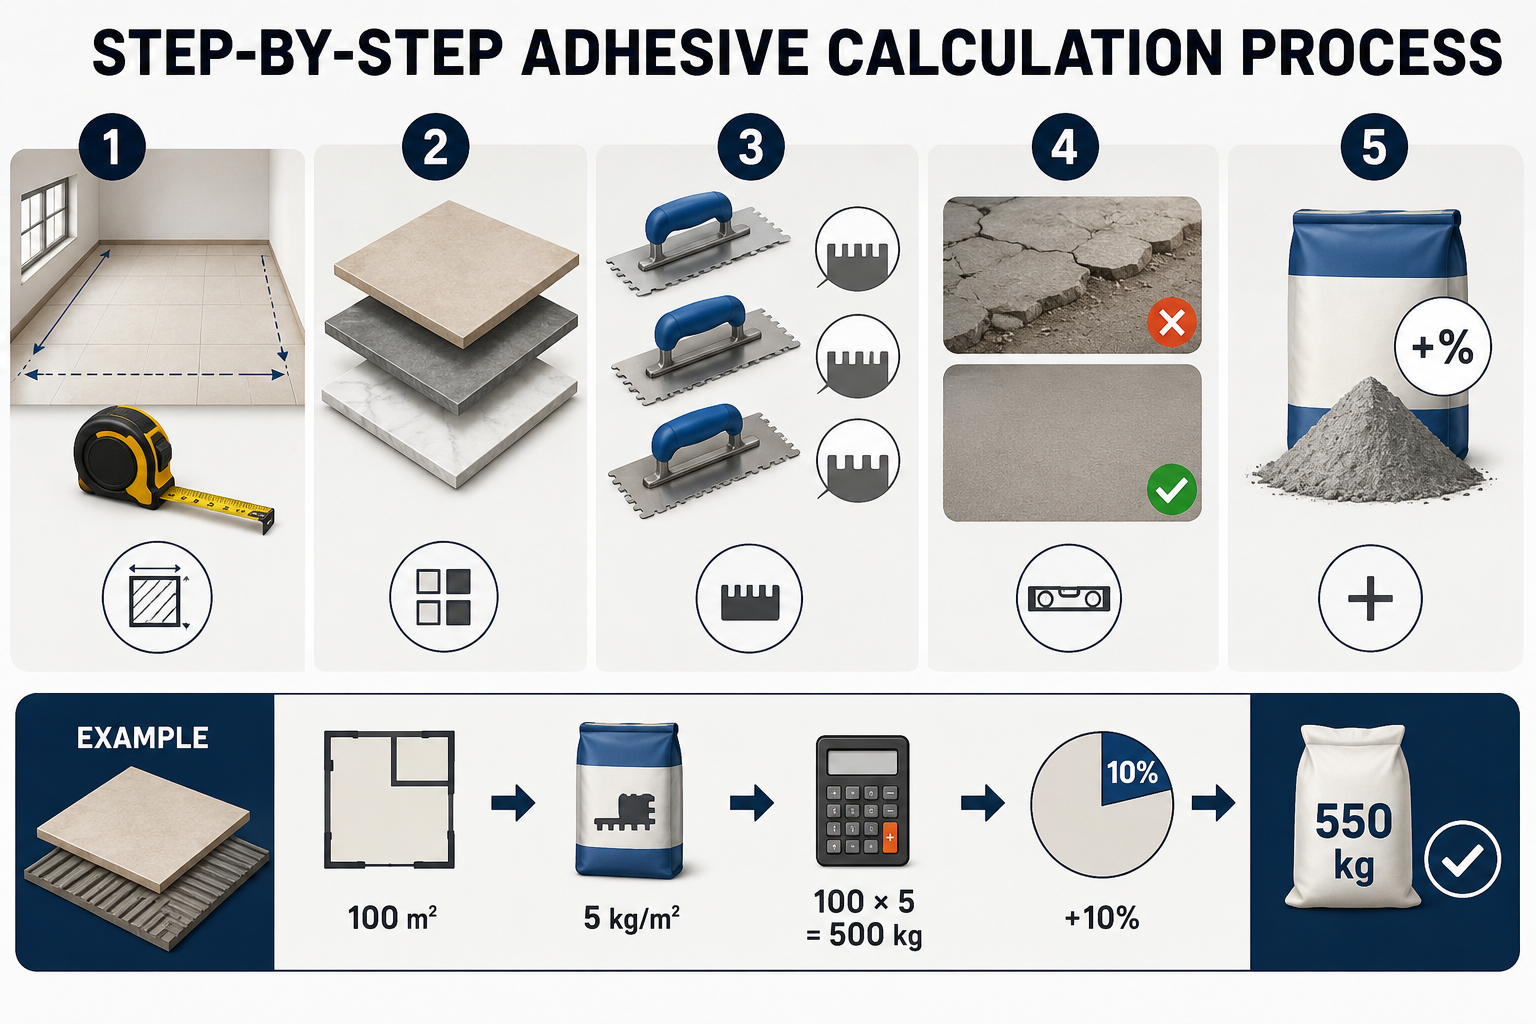
Suppose you are installing 600×600 mm floor tiles in a 100 sqm area.
Assumptions:
Average adhesive consumption = 5 kg/sqm
Extra wastage = 10%
Base requirement: 100×5=500 kg
Including wastage: 500+(10%×500)=550 kg
Total adhesive required: Approximately 550 kg
Correct estimation offers several benefits:
Prevents material shortages
Reduces adhesive wastage
Improves project budgeting
Maintains installation quality
Ensures better tile bonding
Whether you are working on residential walls or using adhesive for floor tiles, accurate calculation is essential for achieving durable and professional tile installation results.
A tile adhesive coverage chart helps estimate the approximate amount of adhesive needed for different tile sizes and installation conditions. It is one of the easiest ways to understand adhesive consumption before starting a project.
While a tile adhesive coverage calculator provides more precise estimates, coverage charts offer quick reference values that contractors and installers commonly use on-site.
Actual coverage may vary depending on:
Surface condition
Adhesive type
Trowel notch size
Tile back texture
Installation method
Still, a coverage chart gives a reliable starting point for planning material requirements.
|
Tile Size |
Recommended Trowel Size |
Approximate Adhesive Consumption |
|
300×300 mm |
6 mm |
3–4 kg/sqm |
|
600×600 mm |
8 mm |
4–5 kg/sqm |
|
800×800 mm |
10 mm |
5–6 kg/sqm |
|
1200×1200 mm |
12 mm |
6–7 kg/sqm |
|
Large Slabs |
12–15 mm |
7–9 kg/sqm |
This chart helps estimate tile adhesive coverage per sqm for common tile formats used in residential and commercial projects.
The trowel notch size significantly affects adhesive consumption because larger notches apply thicker adhesive layers.
|
Trowel Size |
Average Coverage Per 20 kg Bag |
|
6 mm |
5–6 sqm |
|
8 mm |
4–5 sqm |
|
10 mm |
3–4 sqm |
|
12 mm |
2–3 sqm |
Choosing the correct notch size improves adhesive spread and helps maintain consistent bonding strength.
There is usually a difference between wall tile adhesive coverage and floor tile consumption.
Wall tiles generally require:
Thinner adhesive layers
Lower adhesive quantity
Smaller notch trowels
Average wall tile consumption: 3–5 kg/sqm
Floor installations usually require:
Thicker adhesive beds
Stronger bonding support
Larger notch trowels
Average floor tile consumption: 5–8 kg/sqm
This is especially important when selecting adhesive for floor tiles in high-traffic areas.
Even with a standard tile adhesive coverage guide, actual consumption may vary due to:
Rough or damaged substrates increase adhesive usage.
Bigger tiles require thicker adhesive application and back buttering techniques.
Textured or grooved tile backs consume more adhesive.
Improper trowel handling or excessive adhesive spreading increases wastage.
Using a tile adhesive coverage chart helps installers:
Estimate material requirements quickly
Reduce adhesive shortages
Improve project planning
Avoid unnecessary material wastage
Calculate project costs more accurately
Although coverage charts provide average values, combining them with a tile adhesive consumption calculator gives even better estimation accuracy for professional tile installations.
Understanding adhesive consumption per square meter helps installers estimate material requirements more accurately and avoid unnecessary wastage during tile installation. The amount of adhesive needed depends on several factors, including tile size, substrate condition, adhesive thickness, trowel notch size, and installation method.
In most tiling projects, adhesive usage is measured in kilograms per square meter (kg/sqm). However, actual material requirements can vary significantly depending on the type of tile and surface preparation.
The table below shows commonly used industry estimates for different tile applications.
|
Application Type |
Average Adhesive Usage |
|
Small wall tiles |
3–4 kg/sqm |
|
Standard floor tiles |
4–5 kg/sqm |
|
Large-format vitrified tiles |
5–7 kg/sqm |
|
Heavy slabs and stone tiles |
7–9 kg/sqm |
These values are approximate and may change based on installation conditions and adhesive layer thickness.
Tile dimensions play a major role in determining material requirements.
Small ceramic tiles generally require thinner adhesive layers, resulting in lower material usage.
Example: 300×300 mm tiles typically require around 3–4 kg/sqm.
Large vitrified tiles and porcelain slabs need thicker adhesive application to provide proper support, leveling, and bonding strength.
Example: 1200×2400 mm slabs may require approximately 6–9 kg/sqm.
Large-format installations often require back buttering techniques, which can further increase adhesive usage.
Surface quality directly affects material consumption. Smooth and properly leveled substrates allow more efficient adhesive application, while uneven surfaces require additional material for leveling and gap filling.
Common surface issues that increase adhesive usage include:
Cracked substrates
Uneven flooring
Rough plaster surfaces
Improper leveling
Proper surface preparation helps improve installation efficiency and reduces unnecessary material wastage.
Wall tile installations usually require thinner adhesive beds compared to floor applications. As a result, overall material usage is generally lower.
Typical wall tile usage: 3–5 kg/sqm
Bathroom and kitchen walls may require moisture-resistant adhesive products, but adhesive thickness typically remains lower than floor installations.
Floor tile installations usually consume more adhesive because they must withstand:
Heavy foot traffic
Furniture loads
Surface movement
Impact pressure
Larger notch trowels and thicker adhesive layers are commonly used to ensure stronger bonding and long-term durability.
Typical floor tile usage: 5–8 kg/sqm
Large-format floor tiles may also require double spreading or back buttering for improved adhesive contact.
Suppose you are installing large vitrified tiles over a 75 sqm floor area.
Average adhesive usage: 6 kg/sqm
Total area: 75 sqm
Calculation: 75 × 6 = 450 kg
Adding a 10% wastage allowance: 450 + (10% × 450) = 495 kg
Final Requirement: Approximately 495 kg of adhesive.
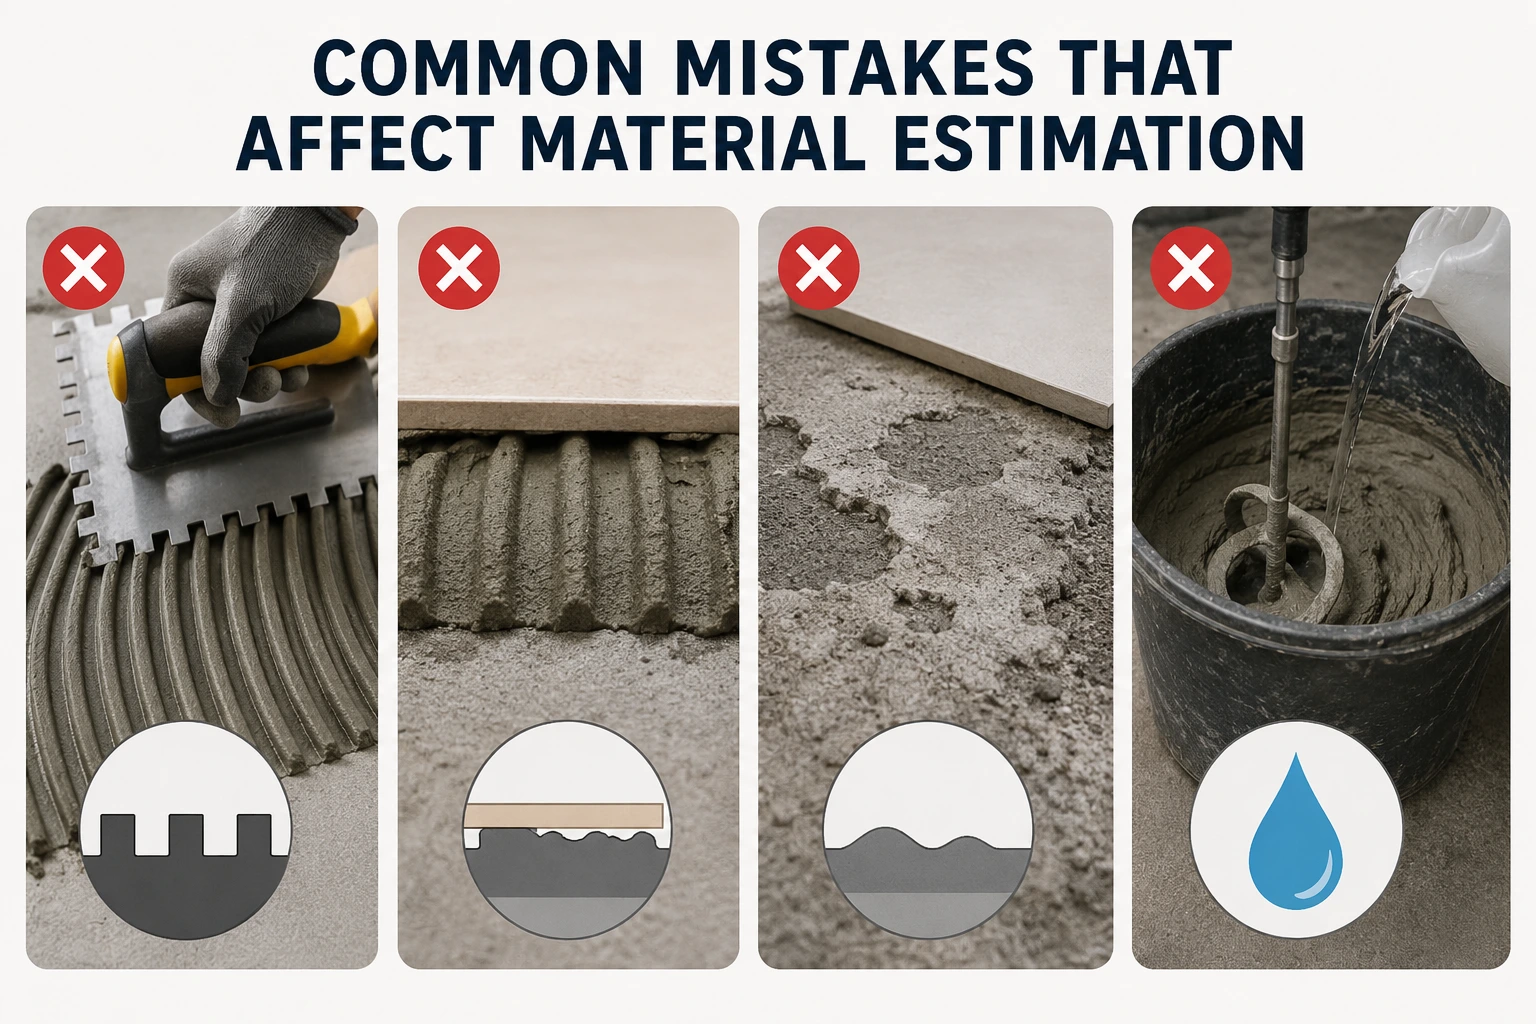
Several installation mistakes can increase material usage beyond estimated values.
Large notch trowels may apply more adhesive than necessary.
Overly thick application increases wastage and may reduce bonding efficiency.
Uneven surfaces require additional leveling material.
Improper water mixing affects adhesive consistency and spreadability.
Proper material estimation helps:
Improve budgeting accuracy
Reduce unnecessary wastage
Avoid installation delays
Maintain consistent bonding quality
Improve overall installation efficiency
Whether for residential walls, commercial flooring, or large-format slab installations, understanding adhesive usage rates helps achieve more reliable and professional tiling results.
Reducing adhesive wastage is important for improving installation efficiency and controlling project costs. Even when using a tile adhesive coverage calculator, poor application techniques can increase material consumption significantly.
Professional tile installers follow specific methods to improve adhesive performance while maintaining accurate tile adhesive coverage per sqm. Proper handling not only reduces wastage but also improves bonding strength and tile durability.
Here are some expert tips that help optimize adhesive usage during tile installation.
Proper surface preparation is one of the most effective ways to reduce unnecessary adhesive consumption.
Uneven walls and floors require thicker adhesive layers for leveling, which increases material usage. Before starting installation, the surface should be:
Clean
Dry
Dust-free
Structurally stable
Properly leveled
Repairing cracks and depressions beforehand helps maintain uniform adhesive thickness across the entire surface.
Well-prepared substrates provide:
Better adhesive bonding
Improved tile alignment
Lower adhesive wastage
More accurate results from a tile adhesive calculator
Professional leveling can significantly improve overall installation quality.
Improper adhesive mixing is a common reason for material wastage and weak tile bonding.
Adding too much water affects:
Adhesive consistency
Bonding strength
Spreadability
Coverage efficiency
On the other hand, insufficient water makes the adhesive difficult to apply evenly.
Always follow the manufacturer’s recommended mixing ratio for best performance.
Correctly mixed adhesive offers:
Smooth application
Better workability
Consistent coverage
Reduced material loss
It also helps maintain accurate tile adhesive coverage guide calculations during installation.
Trowel technique directly affects adhesive consumption and tile bonding quality.
Professional installers hold the trowel at a consistent angle, usually around 45 degrees, to create uniform adhesive ridges. This ensures:
Even adhesive distribution
Proper tile contact
Reduced excess application
Using the wrong trowel angle often leads to:
Uneven adhesive thickness
Increased wastage
Poor bonding performance
Selecting the correct notch size is equally important. Larger notches apply more adhesive and reduce total coverage area.
Using the proper trowel method improves:
Wall tile adhesive coverage
Floor tile bonding
Installation consistency
Material efficiency
Back buttering is a professional technique where adhesive is applied directly to the back of the tile in addition to the substrate.
This method is commonly used for:
Large-format tiles
Porcelain slabs
Heavy floor tiles
Outdoor installations
Back buttering improves:
Full adhesive contact
Bonding strength
Hollow-free installation
Load distribution
Although this technique slightly increases adhesive quantity for tiles, it greatly improves long-term durability and reduces tile failure risks.
For large-format applications, combining back buttering with proper substrate application provides the best installation results.
Professional installers also follow these practices:
Mix adhesive in small batches
Avoid spreading large areas at once
Use fresh adhesive within working time
Clean tools regularly
Store adhesive bags properly
These small improvements can make a major difference in project efficiency and material savings.
By following professional installation techniques, you can improve adhesive performance, maintain accurate tile adhesive coverage per sqm, and achieve long-lasting tile installation results with minimal wastage.
Selecting a high-quality tile adhesive is essential for achieving strong tile installation, long-lasting performance, and reduced maintenance costs. Premium adhesives are specially designed to provide superior bonding, better flexibility, and reliable durability across different surfaces and tile types.
One of the biggest advantages of high-quality tile adhesive is its strong bonding capability. Premium adhesives create a firm grip between the tile and substrate, reducing the chances of tile loosening or detachment over time.
Prevents hollow tiles
Reduces tile cracking and lifting
Suitable for heavy and large-format tiles
Performs well on walls and floors
High bonding strength becomes especially important in areas exposed to moisture, heat, or continuous foot traffic.
Premium tile adhesives are manufactured with advanced formulations that improve spreadability and consistency. This allows installers to achieve better area coverage with less material consumption.
More square feet covered per bag
Reduced adhesive wastage
Easier and faster application
Uniform adhesive layer thickness
Better coverage efficiency helps lower overall project costs while improving installation quality.
Durability is a major factor in tile installation performance. High-quality tile adhesive offers excellent resistance against moisture, temperature changes, and daily wear.
Water-resistant properties
Crack resistance
Better flexibility under stress
Strong performance in indoor and outdoor applications
Durable adhesive reduces future repair and replacement expenses, making it a cost-effective solution over time.
Using premium tile adhesive products provides both installers and property owners with multiple long-term advantages.
Improved tile stability
Faster installation process
Better workability and smooth application
Enhanced resistance to environmental conditions
Suitable for ceramic, vitrified, porcelain, and natural stone tiles
Premium adhesives also support modern tile installation requirements, especially for large-format and low-porosity tiles that demand stronger bonding solutions.
High-quality tile adhesive delivers superior bonding strength, better coverage efficiency, and long-lasting durability. Whether for residential, commercial, or industrial projects, investing in premium adhesive products ensures reliable tile performance, reduced maintenance, and professional installation results.
Accurate adhesive estimation plays a major role in successful tile installation. Using the right calculation method helps reduce material wastage, improve budgeting accuracy, and maintain consistent installation quality across residential and commercial projects.
Factors such as tile size, substrate condition, trowel notch size, and installation type directly influence adhesive consumption. Choosing a high-quality adhesive and following proper application techniques further improves bonding strength and long-term tile durability.
Whether you are installing wall tiles, floor tiles, or large-format slabs, proper planning and accurate adhesive coverage estimation help achieve reliable and professional installation results.
For 100 sq ft, you typically need around 30–50 kg of adhesive, depending on tile size, surface condition, and trowel notch size.
Average tile adhesive coverage per sqm ranges from 3–7 kg based on tile dimensions and application type.
Yes. Large vitrified tiles and textured tiles usually require more adhesive than small ceramic tiles.
An 8 mm to 12 mm notch trowel is commonly recommended for standard and large-format floor tiles.
Yes. Wall tile adhesive coverage is generally lower because wall tiles need thinner adhesive application compared to floor tiles.
A tile adhesive coverage calculator helps estimate accurate material requirements, reduce wastage, and improve project planning.