

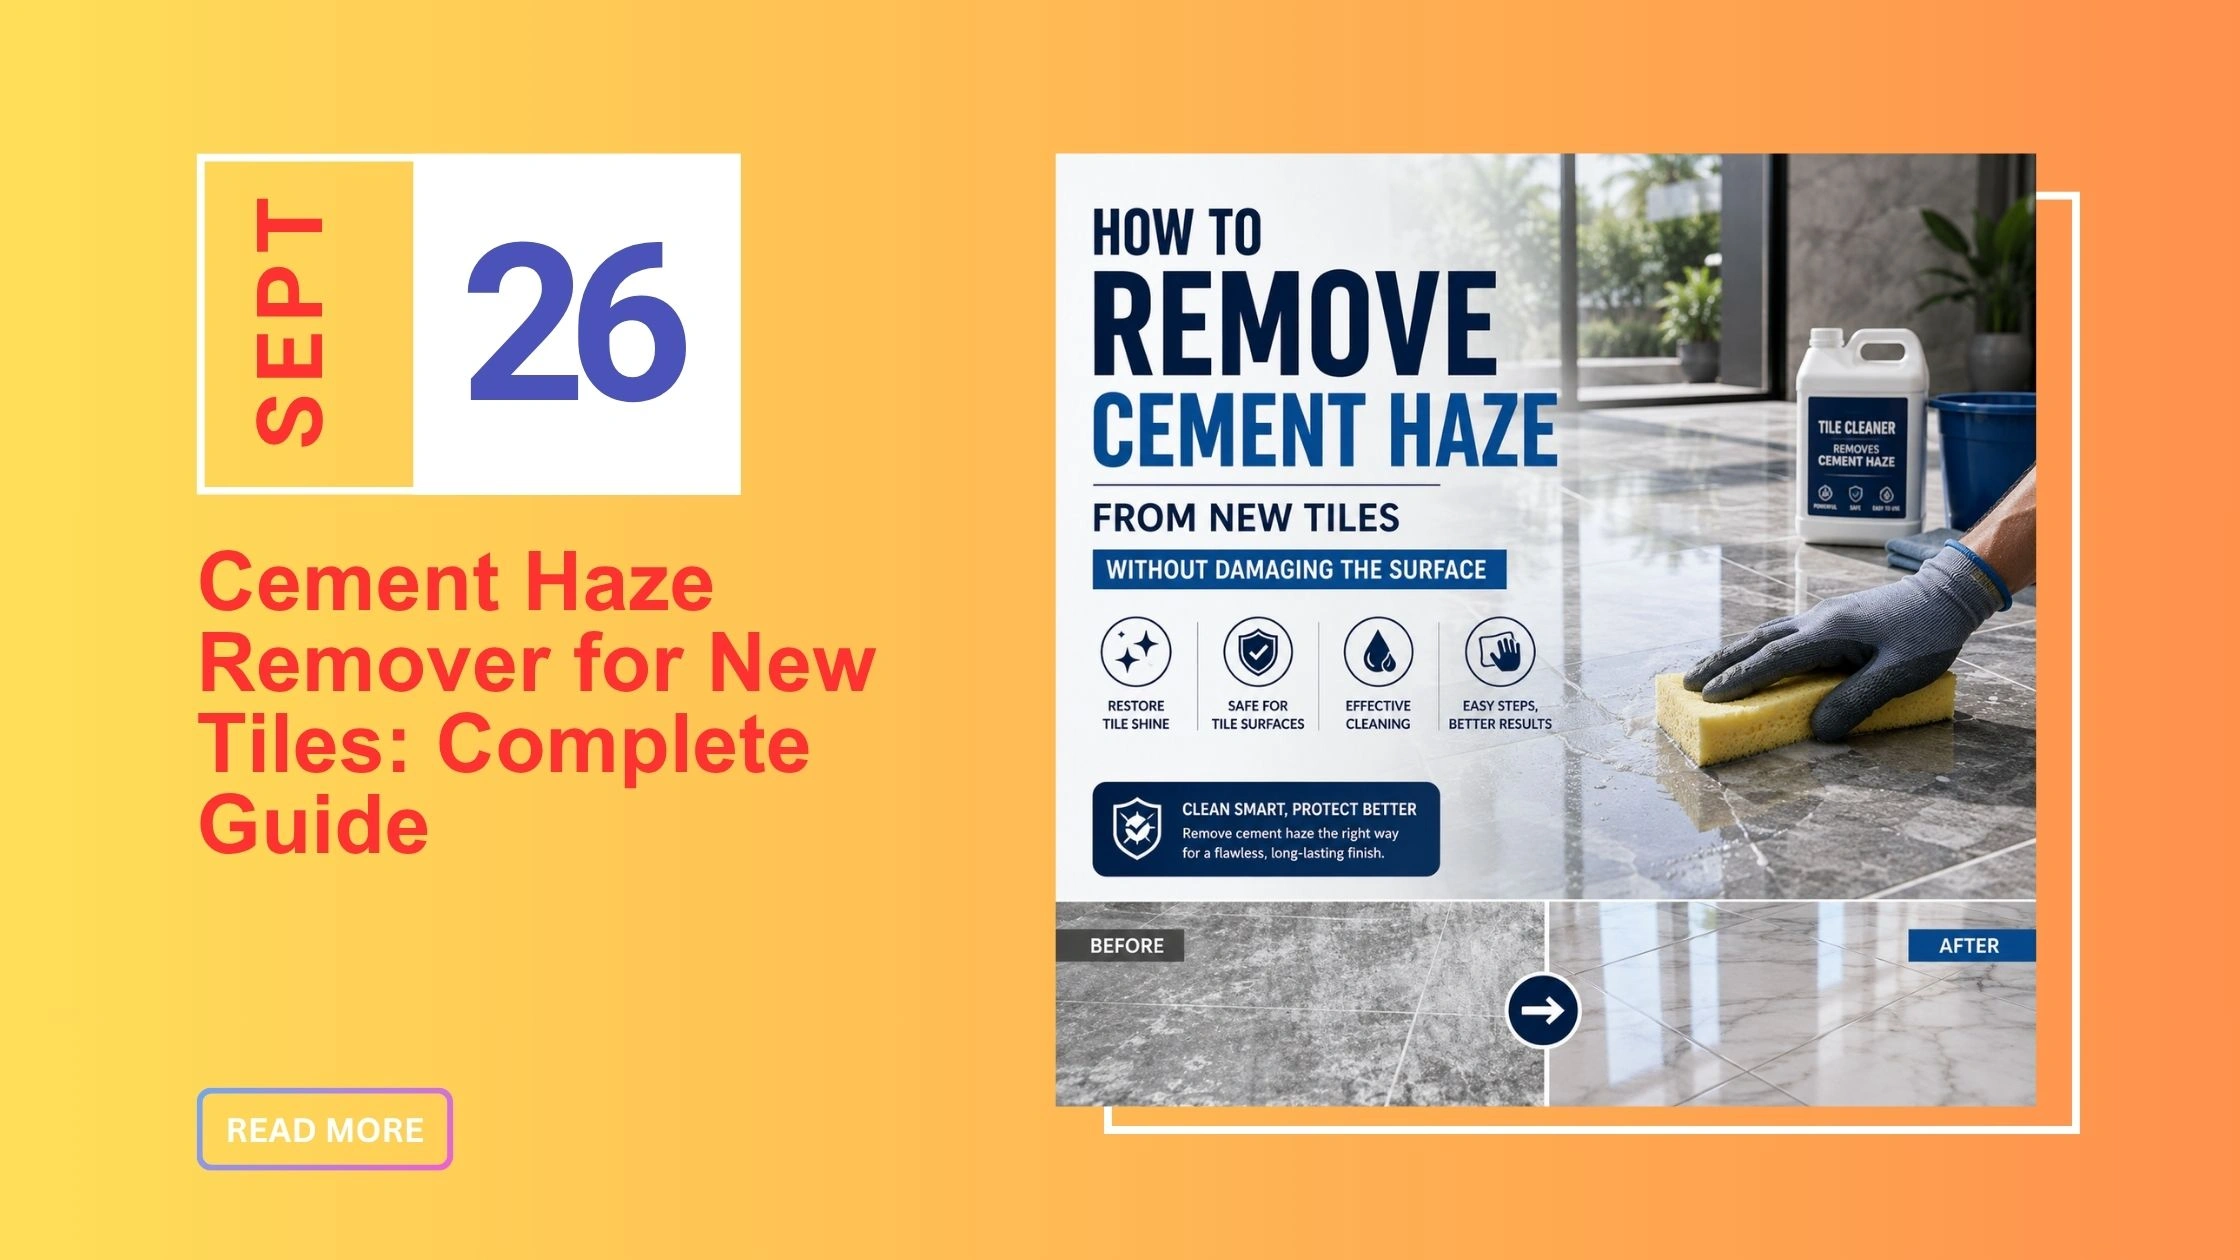
New tiles should have that crisp, showroom finish: clean lines, sharp colour and a surface that catches the light just right. Then the installation ends, the dust settles, and suddenly the tiles look cloudy. That chalky film is usually cement or grout residue, often called cement haze. It can make an otherwise excellent tiling job look unfinished, but aggressive scrubbing can create an even bigger problem.
The good news? You usually don't need brute force. The right cement haze remover, suitable dilution, tools and cleaning method can lift the residue while helping protect the tile surface. The trick lies in identifying the tile first, understanding what caused the haze and choosing a cleaning approach that matches the material.
If you're preparing for post-installation cleaning, it's useful to understand the difference between routine tile cleaning and specialised residue removal. A suitable tile cleaning and maintenance solution can help you approach the job systematically rather than reaching for the strongest chemical under the sink.
Cement haze is a thin, cloudy layer of cementitious material left on the tile surface after installation or grouting. As grout dries, tiny amounts of cement, minerals and water can remain on the face of the tile. Once the moisture evaporates, those materials leave a dull film.
Fresh haze often looks harmless because the tiles may still appear reasonably clean. Give them the right angle of sunlight, though, and the residue suddenly becomes impossible to ignore. Dark tiles tend to show it particularly well, while textured surfaces can trap residue in tiny recesses.
A cement haze remover works by helping loosen mineral-based residues so you can remove them without excessive mechanical scrubbing. However, not every tile responds identically. Porcelain, glazed ceramic, natural stone and sensitive decorative surfaces each require different levels of care.
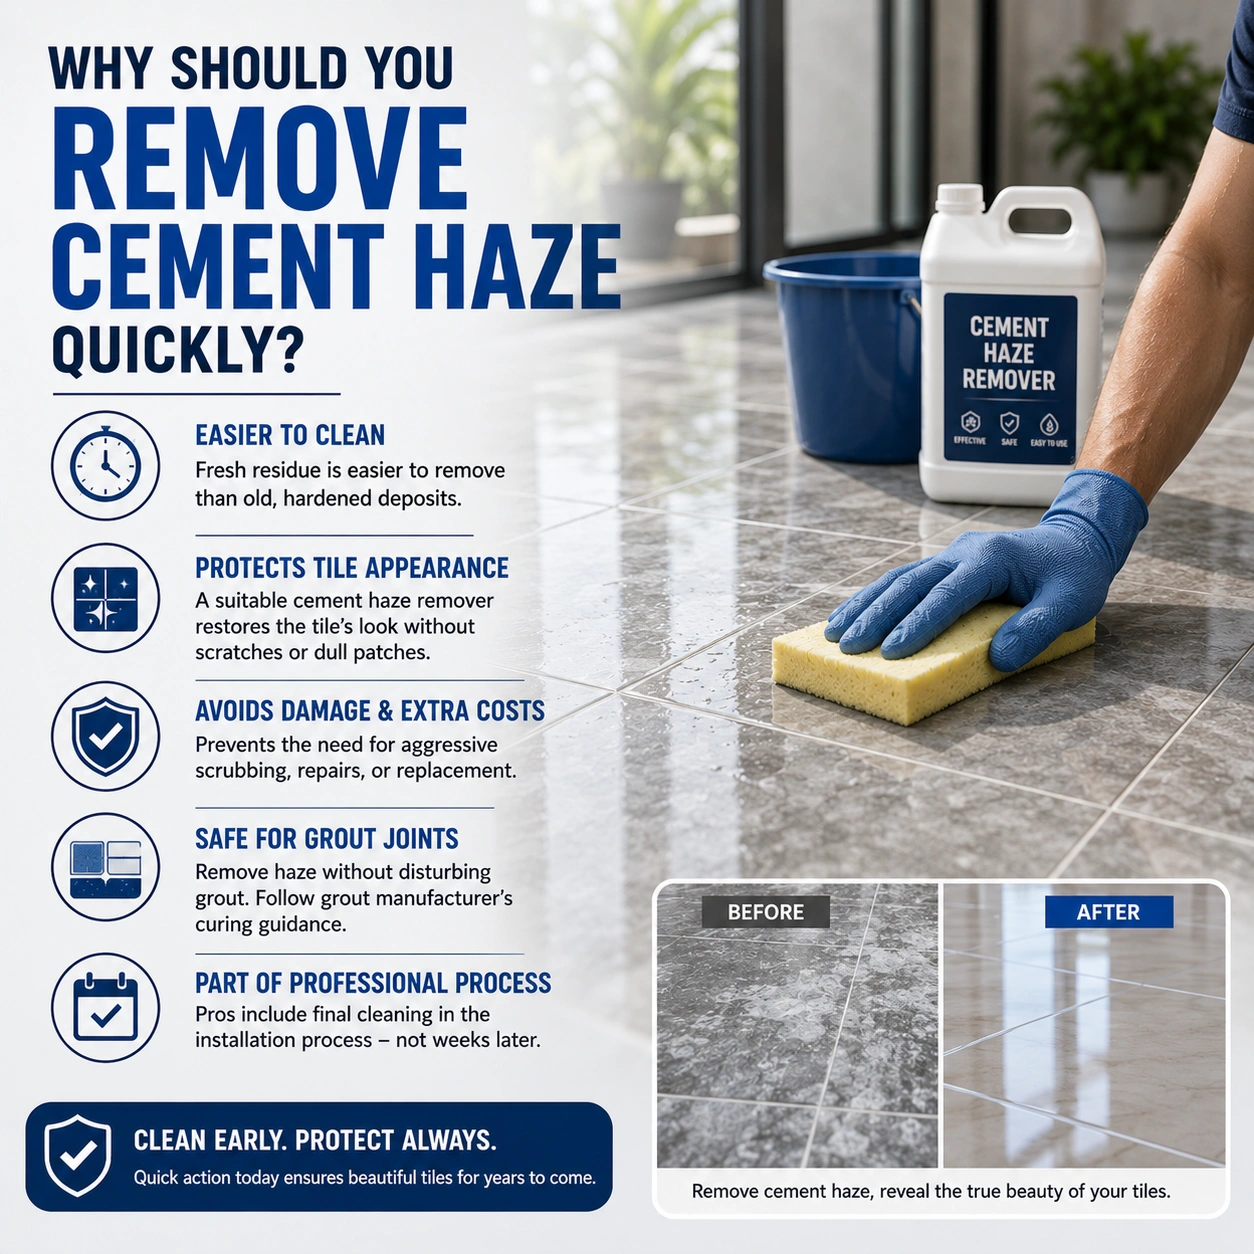
Fresh residue generally proves easier to tackle than old, hardened deposits. As cement-based material continues to cure, it can become more stubborn and require additional cleaning effort. That's why professional installers often include final cleaning as part of the installation process rather than leaving the residue for weeks.
A suitable cement haze remover can help restore the tile's intended appearance while reducing the temptation to scrape or aggressively scour the surface. That's important because scratches, dull patches and damaged finishes can cost considerably more to correct than the original cleaning job.
Timing also matters for grout joints. You want to remove residue from the tile face without disturbing the grout that has not yet developed adequate strength. Always follow the grout manufacturer's curing guidance before applying a cleaning chemical.
A cement haze remover typically targets alkaline, cement-based residues left after tile installation. Depending on the formulation, it may contain acids or other ingredients that react with mineral deposits and loosen them from the surface.
That sounds wonderfully simple, but chemistry deserves respect. A product powerful enough to dissolve cement residue can also damage acid-sensitive materials. Marble, limestone, some natural stones, metallic finishes and certain decorative surfaces can react badly to acidic cleaners.
Before using any cement haze remover, read the manufacturer's instructions and identify the tile material. Test the solution in a small, inconspicuous area first. If the surface changes colour, develops dullness or shows another unexpected reaction, stop immediately.
The phrase tile cleaner covers a huge range of products, and they don't all perform the same job. A daily cleaner removes ordinary dirt and grime. A post construction tile cleaner tackles heavier installation residue. A cement haze remover specifically targets cementitious deposits.
That distinction matters because using an everyday cleaner on hardened grout haze can feel like trying to wash a muddy boot with sparkling water. You may improve the surface slightly, but you won't solve the underlying problem efficiently.
For routine maintenance, a mild floor tile cleaner may be appropriate. For fresh installation residue, a dedicated tile residue remover can provide a more targeted approach. Always match the product to the tile and residue rather than choosing based solely on cleaning strength.
A general tile cleaner works well for everyday dust, food marks, footprints and light grime. It usually doesn't have the chemistry needed to break down stubborn cement-based deposits.
A cement haze remover takes a more specialised approach. It targets mineral residue generated during installation, making it more appropriate when ordinary washing leaves a cloudy film behind.
The two products can complement each other. You might use a specialised cleaner to remove installation residue first, then switch to a suitable maintenance cleaner once the surface looks clean.
|
Cleaning product |
Best suited for |
Main consideration |
|
General tile cleaner |
Everyday dirt and grime |
Usually mild |
|
Post construction tile cleaner |
Installation residue |
Follow surface compatibility guidance |
|
Cement haze remover |
Cement and grout haze |
Test sensitive surfaces |
|
Porcelain tile cleaner |
Routine porcelain care |
Avoid unsuitable abrasive products |
|
Grout haze remover |
Grout residue on tile faces |
Follow curing instructions |
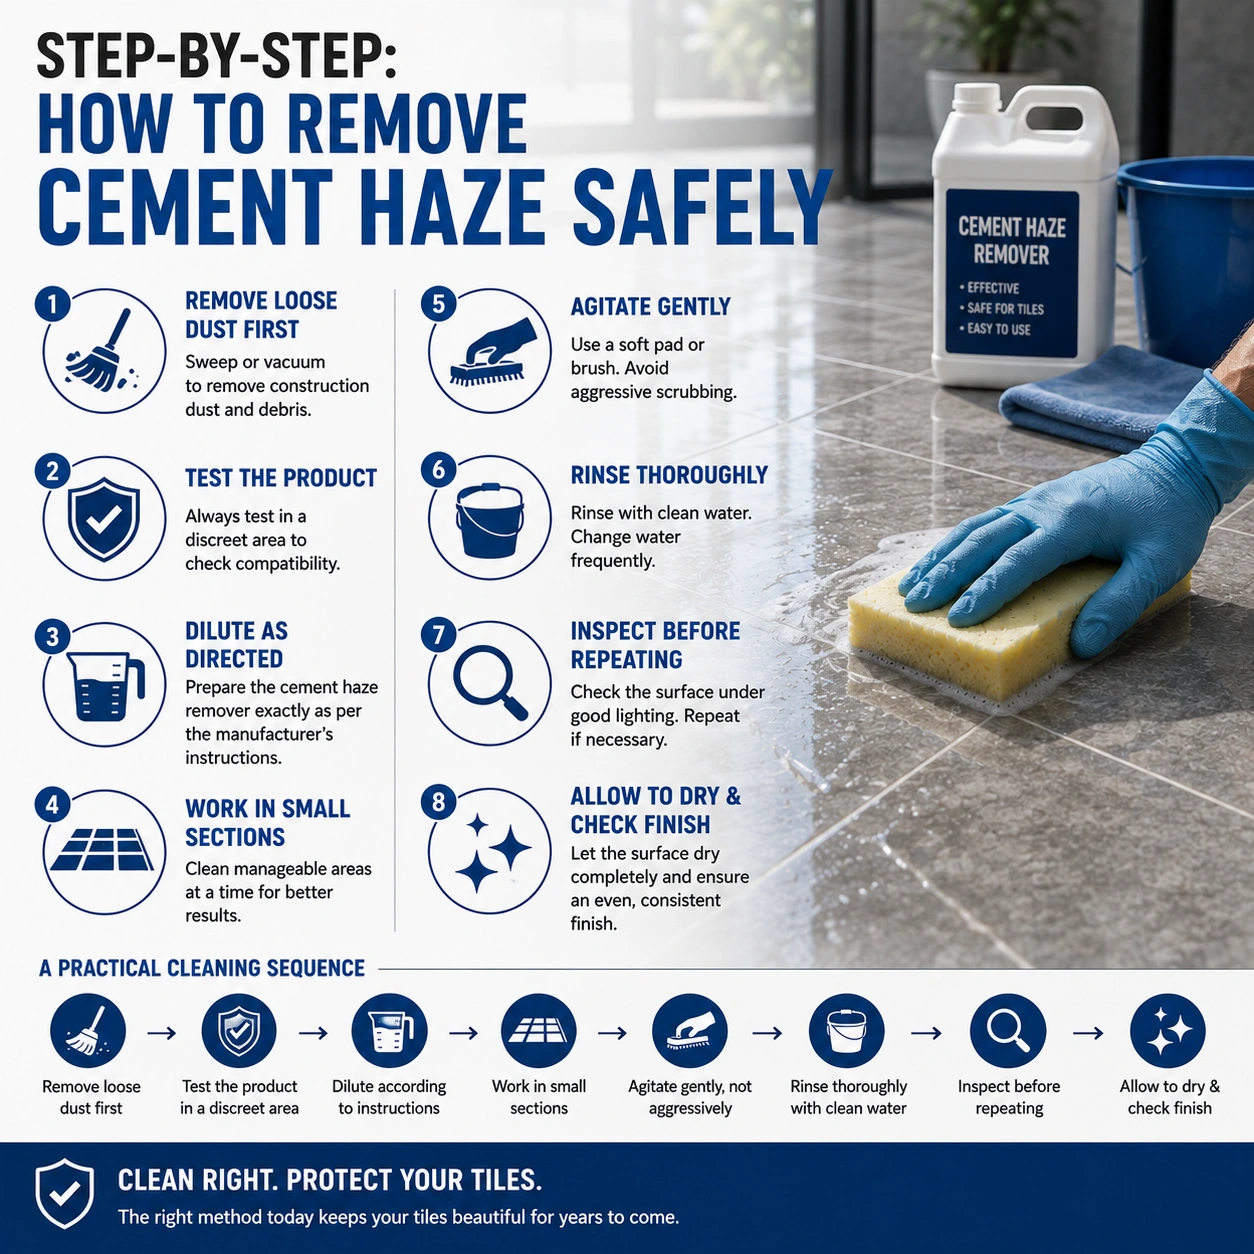
Before you begin, remove loose construction dust from the area. Dry dust can act like fine grit when you start wiping, so sweeping or vacuuming first helps reduce unnecessary scratching.
Next, prepare the cement haze remover exactly according to the manufacturer's directions. Don't assume that a stronger mixture will produce a faster result. Excess concentration can increase the risk of damaging sensitive surfaces, grout or surrounding finishes.
Work across manageable sections rather than covering the entire floor at once. Apply the solution as directed, allow the recommended contact time and agitate gently using a compatible pad or brush. Then remove the loosened residue thoroughly with clean water.
For larger projects, change rinse water frequently. Dirty water can simply redistribute the residue you're trying to remove. After cleaning, inspect the surface from different angles under good lighting. The tiles should look consistent rather than merely “better”.
Remove loose construction dust first.
Test the product in a discreet area.
Dilute according to the manufacturer's instructions.
Work in small sections.
Agitate gently rather than aggressively.
Rinse thoroughly with clean water.
Inspect before repeating the treatment.
Allow the surface to dry and check the final finish.
Porcelain is popular because it offers a durable, low-absorption surface, but that doesn't mean every porcelain finish can tolerate every chemical or abrasive tool. Polished porcelain deserves particular care because harsh pads can affect its appearance.
When selecting a porcelain tile cleaner or cement haze remover, check the manufacturer's compatibility guidance. Avoid improvising with strong acids, abrasive powders or rough scouring pads simply because the haze looks stubborn.
If the tile has a textured or structured finish, residue may sit inside small surface recesses. Gentle mechanical agitation can help, but patience usually beats excessive pressure. Give the correct chemical enough time to loosen the residue, then rinse properly.
Glazed ceramic tiles often tolerate appropriate cement haze cleaning well, but the glaze itself doesn't automatically make the entire installation chemical-proof. Decorative patterns, metallic details and special finishes can require additional caution.
For a standard glazed ceramic surface, a suitable cement haze remover can help remove residue after installation. However, you should still follow the product instructions and test first, particularly if you're working with unusual finishes.
If you're cleaning a bathroom wall, consider the surrounding materials too. Metal trims, natural stone borders, painted surfaces and sealants may react differently from the ceramic tile. Protect adjacent surfaces rather than assuming one product suits everything.
Bathrooms create a particularly interesting cleaning challenge because installers may combine several materials within a small area. You might have porcelain flooring, glazed wall tiles, stone accents, chrome fixtures and silicone joints all within arm's reach.
A bathroom tile cleaner designed for everyday maintenance won't necessarily remove hardened cement residue. If grout haze remains after installation, use a compatible cement haze remover and keep the solution away from sensitive fittings whenever possible.
Don't flood the room with a cleaning solution. Controlled applications make it easier to manage contact time and rinse thoroughly. It also reduces the risk of chemicals reaching areas where you don't want them.
This question deserves a very cautious answer: sometimes, but never assume it is safe.
Many natural stones contain minerals that can react with acidic cleaners. Marble and limestone, for example, can develop etching or dull patches when exposed to unsuitable acids. That damage doesn't simply wash away.
If your project contains natural stone, check the stone supplier's care recommendations before selecting a cement haze remover. In uncertain cases, ask a qualified tile-care professional to assess the material.
For stone installations, the safest strategy often involves prevention. Protecting the tile surface during installation and cleaning grout residue before it hardens can reduce the need for aggressive chemical treatment later.
The most common mistake involves assuming that more force equals better cleaning. It doesn't. Scrubbing harder can scratch polished surfaces, wear finishes and spread residue across a larger area.
Another mistake involves ignoring dilution instructions. Concentrated chemicals may appear more effective, but stronger doesn't automatically mean safer or faster. Manufacturers formulate products around specific concentrations and contact times for a reason.
Avoid mixing cleaning chemicals. Combining products can create dangerous reactions or unexpected surface damage. Use one appropriate product at a time, rinse thoroughly and follow the manufacturer's safety directions.
Prevention beats correction almost every time. Installers can reduce haze by controlling grout application, removing excess material promptly and following the grout manufacturer's cleaning instructions.
Protecting finished surfaces during construction also makes a major difference. Construction dust, plaster, paint and adhesive residue can create additional cleaning problems, so keeping the work area organised helps protect the finished tile.
Good installation practice also reduces the amount of residue left behind. A careful installer doesn't simply finish grouting and walk away. They inspect the tile faces, clean appropriately and check the completed surface under suitable lighting.
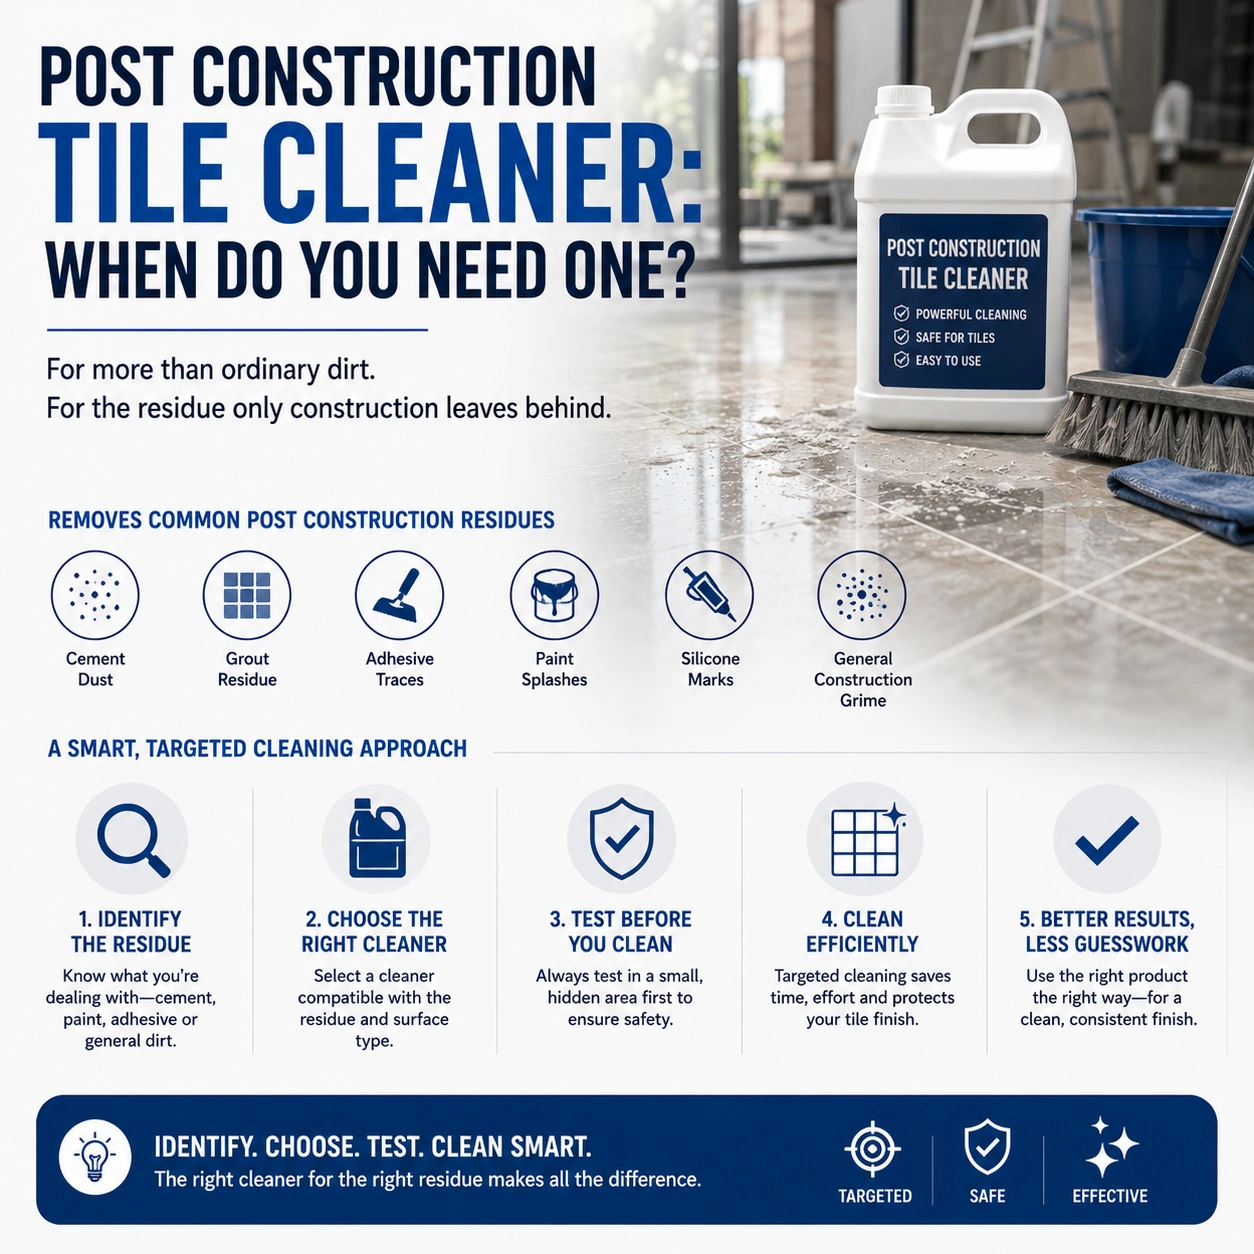
A post construction tile cleaner makes sense when the surface contains more than ordinary household dirt. New-build projects often leave behind fine cement dust, grout residue, adhesive traces and general construction grime.
However, you shouldn't automatically use the strongest available product across every surface. First identify what you're trying to remove. Cement residue requires different treatment from paint splashes, silicone, adhesive or ordinary dust.
This targeted approach also makes your cleaning routine more efficient. Instead of throwing several products at the floor and hoping something works, identify the residue, choose a compatible cleaner and test before committing to the whole area.
DIY cleaning can work well when the haze is light, the tile is clearly identified and you follow the product instructions carefully. Small residential jobs often don't require specialist equipment.
Professional cleaning becomes more attractive when the area is large, the residue has hardened, the tile material is sensitive or the installation includes multiple finishes. Professionals can assess the surface before selecting a treatment, which can reduce the risk of expensive mistakes.
For commercial projects, professional cleaning may also make sense because time matters. A large floor covered in stubborn haze can quickly become a productivity problem. The right cleaning process can restore the surface without turning the job into an all-weekend wrestling match.
Removing cement haze successfully requires more than choosing the strongest cleaner on the shelf. Identify the residue, understand the tile surface, select a compatible cement haze remover, follow the manufacturer's dilution and contact-time instructions, and rinse thoroughly. Porcelain, ceramic, natural stone and decorative surfaces can react differently, so a quick compatibility test can save you from an expensive repair.
If your newly tiled surface still looks cloudy after installation, don't let aggressive scrubbing turn a small cleaning job into a surface-damage problem. Explore suitable tile finishing and repair solutions from Lapifix and choose a cleaning approach that matches your project. With the right product and a little patience, that showroom finish can come back without sacrificing the surface underneath.
The best cement haze remover depends on the tile material, grout type and severity of the residue. Choose a product specifically designed for cement-based haze and verify that the manufacturer approves it for your tile surface.
Vinegar contains acetic acid and may affect some mineral residues, but it isn't automatically suitable for every tile or grout. Natural stone can react poorly to acids, and stronger cement haze may require a purpose-designed product. Check surface compatibility before using household acids.
The correct timing depends on the grout and cleaner. Wait until the grout has reached the appropriate stage for cleaning and follow both manufacturers' instructions. Cleaning too aggressively too early can disturb grout joints.
A compatible product used according to its instructions should be suitable for many porcelain surfaces, but polished, textured or specially finished tiles require care. Always test a discreet area first and avoid abrasive tools.
Not necessarily. Light haze on compatible tile can often be handled by a careful homeowner or installer. Consider professional assistance when the residue has hardened, the surface is sensitive, the area is large or you're unsure which cleaning method is safe.