

Freshly applied wall putty can look ready surprisingly quickly. The surface may feel dry to the touch, yet the material underneath can still be settling and losing moisture. That is where rushed sanding or painting can turn a smooth wall into a patchy, uneven headache.
So, what is the right wall putty drying time? The answer depends on the type of putty, coat thickness, temperature, humidity, ventilation, surface condition, and the manufacturer's instructions. Some acrylic products can be ready for the next stage in a few hours, while cement-based products may need longer between coats and additional time before painting. For example, published manufacturer guidance includes 4–6 hours for some acrylic wall putties and 6–8 hours for some cement-based products.
If you're planning a new wall finish, you can also explore Lapifix Wall Putty to understand where wall putty fits into a proper surface-preparation system.
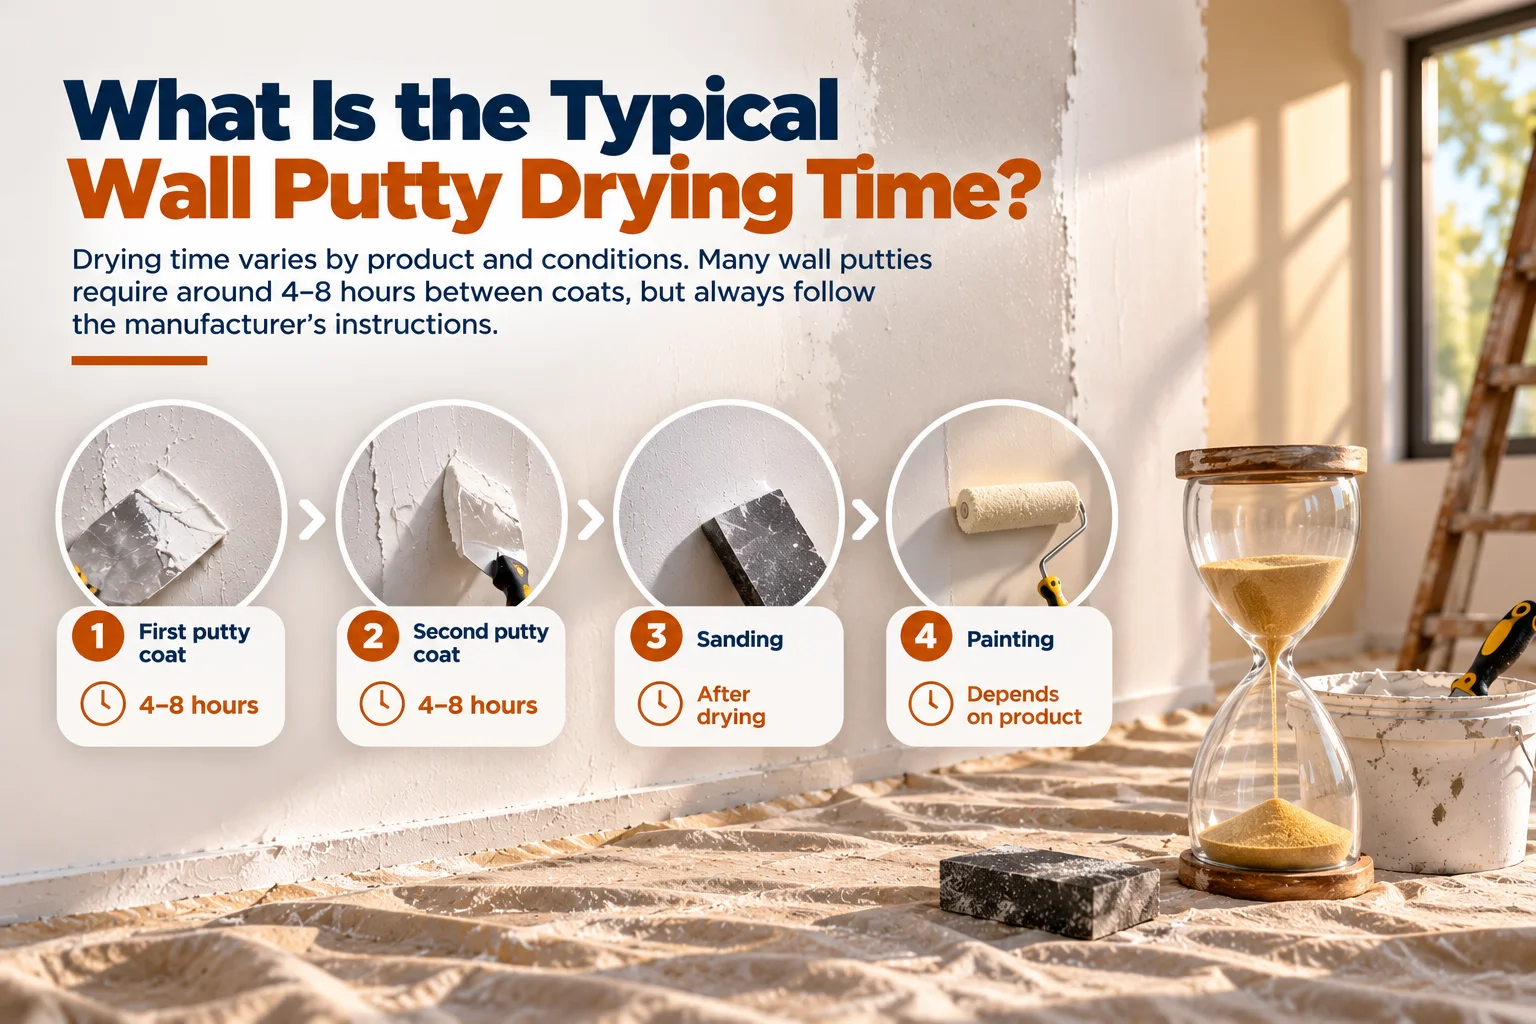
There is no single drying time that applies to every wall putty. The product formulation matters first. Acrylic putty, ready-mixed putty, cement-based putty and specialised waterproof products can behave differently, so the product's technical data sheet should always be the final reference.
As a general working guide, many products fall somewhere around 4–8 hours between coats, under suitable conditions. For example, Asian Paints lists a 4–6 hour recoat period for its acrylic wall putty at stated reference conditions, while some cement-based wall putties specify around 6–8 hours to recoat.
That does not automatically mean the wall is ready to paint at the same moment. Drying between coats and readiness for final sanding or painting are related, but they are not always identical stages.
|
Stage |
Typical working window |
What to check |
|
First putty coat |
Around 4–8 hours for many products |
Surface should be sufficiently dry before the next coat |
|
Second putty coat |
Around 4–8 hours for many products |
Check dryness and manufacturer's instructions |
|
Sanding |
After the putty has adequately dried |
Surface should feel firm, dry and even |
|
Painting |
Depends on product and complete preparation |
Primer/paint system requirements must also be met |
These are practical ranges rather than universal rules. Product instructions take priority because formulation and application conditions can change the timing considerably.
The first coat is not just a warm-up for the second. It creates part of the final surface, so applying another layer too early can interfere with the finish and adhesion.
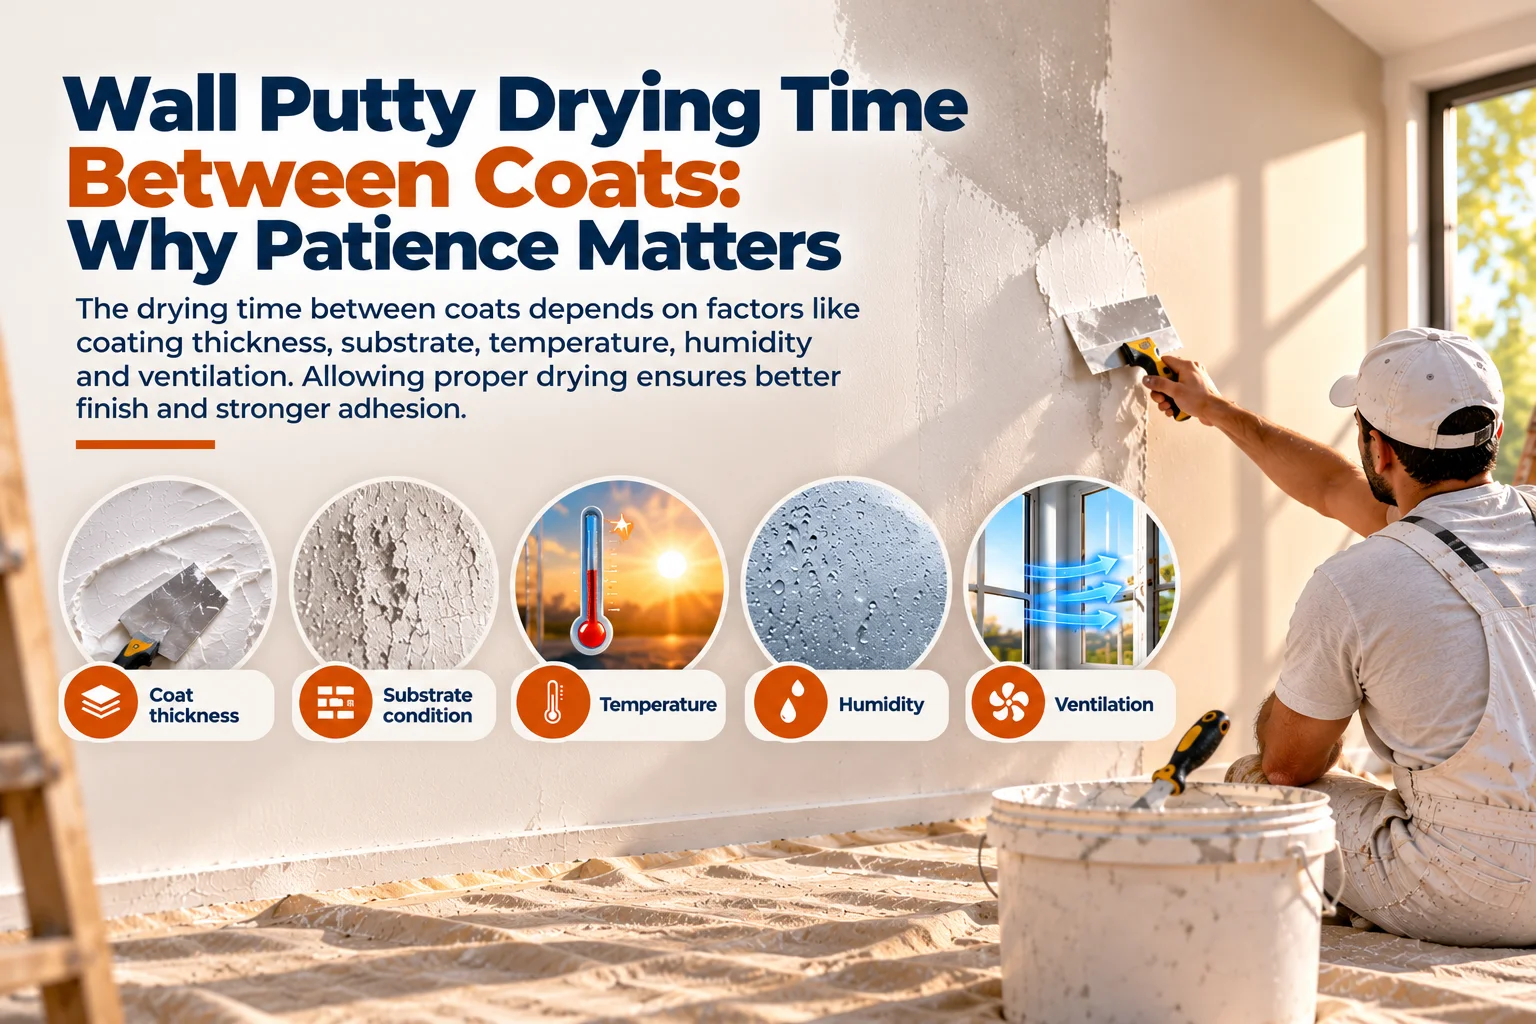
The wall putty drying time between coats depends on how much material has been applied, how porous the substrate is, and how easily moisture can escape. A thin, evenly applied coat in a well-ventilated room may dry faster than a thicker application in a cool, damp environment.
Some manufacturers specify recoat periods under particular temperature and relative-humidity conditions. For example, one acrylic wall putty technical sheet gives a 4–6 hour recoat period at 25°C and 50% relative humidity and notes that conditions can affect the result.
That is why "it has been four hours" is not enough by itself. The better question is whether the surface has actually reached the required condition for the next stage.
The wall putty drying time after application can vary from several hours to longer depending on the product and environment.
Acrylic products can sometimes have relatively short touch-drying times. One manufacturer, for example, specifies a 20-minute dry-to-touch time for an acrylic wall putty, while its application instructions give 4–6 hours between coats.
That difference is important. Dry to touch does not necessarily mean ready for sanding, recoating or painting. Touch-dry simply describes one stage of drying.
Cement-based products can require a longer interval. Asian Paints lists 6–8 hours to recoat for several cement-based wall putty products under specified conditions. JK Cement similarly states that some wall putty products can take approximately 4–6 hours to dry completely.
For that reason, always separate three ideas: touch dry, recoat ready and paint ready.
Temperature can change how quickly moisture leaves the putty, but simply assuming "summer means faster" can be misleading.
Wall putty drying time in summer may be shorter when the room has moderate warmth, good airflow and relatively low humidity. However, extremely hot conditions or strong direct sunlight can create uneven drying, particularly if one part of a wall dries much faster than another.
Wall putty drying time in winter can increase when temperatures are lower and ventilation is poor. The same quantity of putty that dries comfortably in warm, well-ventilated conditions may need more time when the room is cold.
The smart approach is not to chase a particular number of hours. Instead, use the manufacturer's stated conditions as your baseline and check the actual surface before moving forward.
Humidity is one of the biggest reasons a wall that "should be dry by now" is still not ready.
When the surrounding air already contains significant moisture, water from the putty can escape more slowly. This can extend wall putty drying time in humid weather, particularly in poorly ventilated interiors, bathrooms, kitchens or enclosed spaces.
A practical clue is the surface appearance. If areas remain noticeably darker, cooler, soft or slightly tacky compared with the surrounding dry surface, give them more time. Do not use a fan or heater aggressively simply to force the process; uneven drying can create its own problems.
Ventilation is usually more useful than trying to turn the room into a desert. Fresh air movement can help moisture leave the surface while maintaining reasonable application conditions.
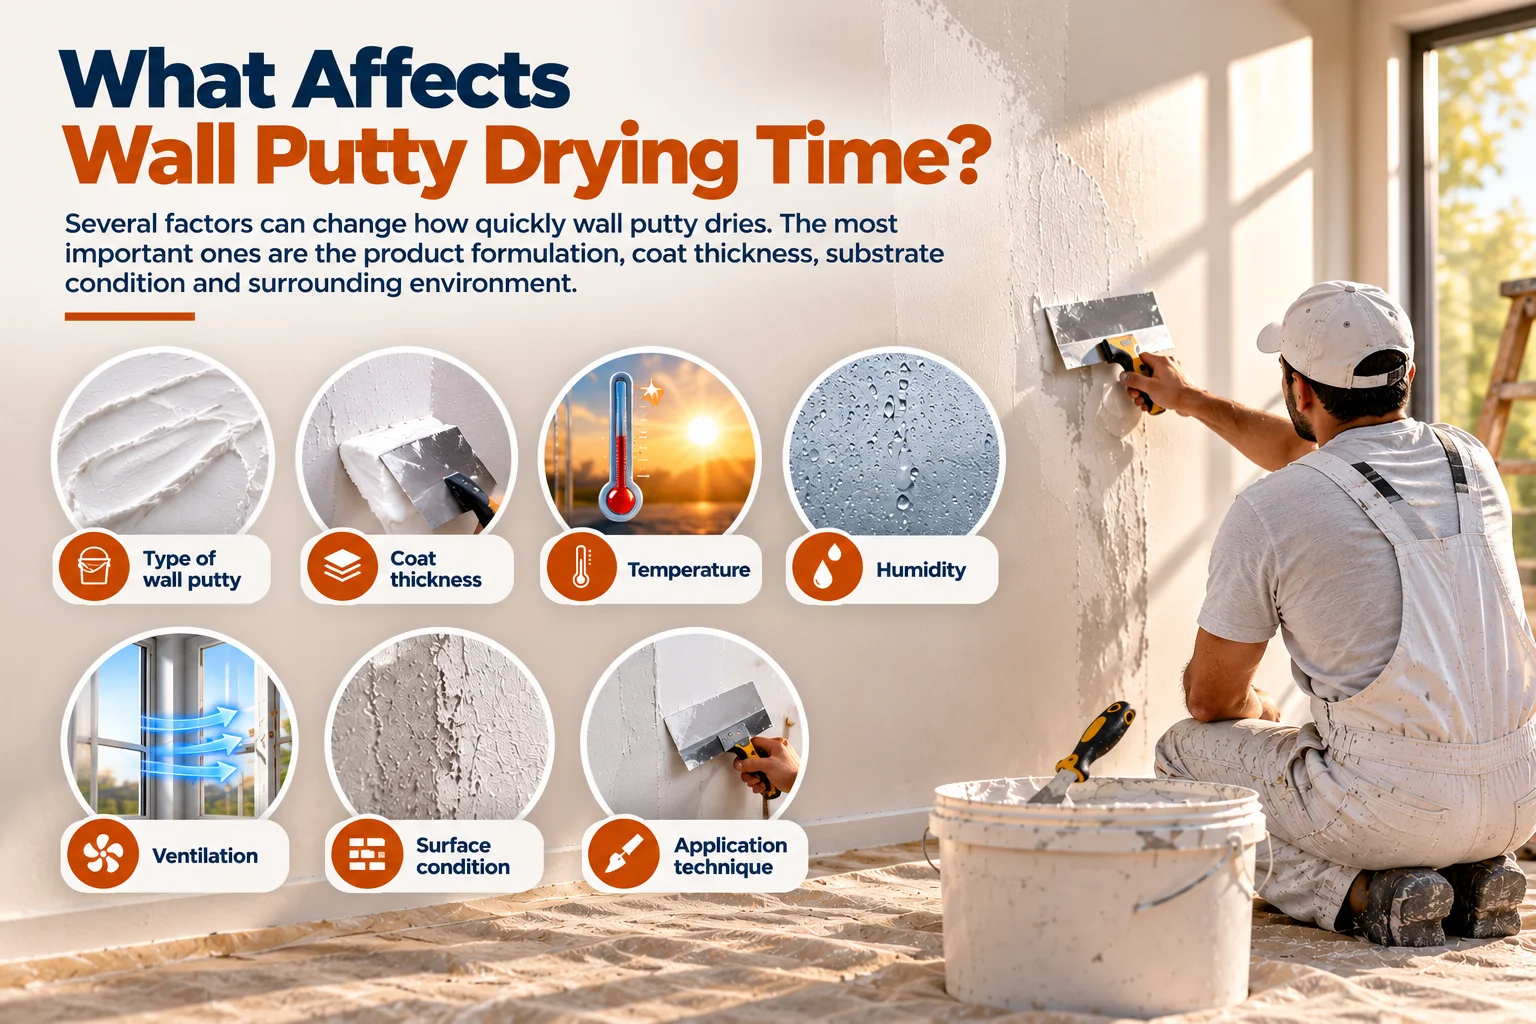
Several factors can change how quickly wall putty dries. The most important ones are the product formulation, coat thickness, substrate condition and surrounding environment. Before moving to sanding or painting, consider:
Type of wall putty: Acrylic, ready-mixed and cement-based products can have different drying and recoat times.
Coat thickness: A thick or uneven application generally takes longer to dry than a thin, consistent coat.
Temperature: Warmer conditions may speed drying, while cooler conditions can slow it down.
Humidity: High humidity can reduce moisture evaporation and extend drying time.
Ventilation: Good airflow can support more consistent drying, particularly in enclosed rooms.
Surface condition: Damp, dirty, dusty or poorly prepared surfaces can affect both drying and adhesion.
Application technique: Uneven application can create areas that dry at different rates.
Good wall putty application and drying starts with the substrate.
Loose dust, grease, flaking material, efflorescence and other contamination can interfere with adhesion. Some products also require the surface to be pre-wetted before application, while others have different preparation requirements. Always follow the product's technical instructions rather than applying one universal method to every wall.
New masonry is another important consideration. Some manufacturers recommend allowing new masonry surfaces to cure fully before applying putty; one published product sheet recommends 28 days for new masonry.
In other words, wall putty is not a shortcut around unfinished construction. It is part of a properly prepared finishing system.
Knowing when to sand wall putty is just as important as knowing how to sand it.
The surface should be adequately dry and firm before sanding begins. If sanding produces soft, gummy material or causes the putty to smear rather than form controlled dust, it may not be ready.
Use appropriate abrasive paper and avoid aggressive sanding. One manufacturer specifically warns that vigorous sanding can reduce the strength of the material.
Sanding is meant to refine the surface, not excavate it. The goal is to remove ridges, small imperfections and uneven areas while preserving enough putty to maintain a consistent base.
Dust control matters too. NIOSH notes that sanding construction materials can generate significant dust and recommends appropriate exposure-control measures such as ventilation and dust-capture methods. CDC For broader workplace guidance, see the NIOSH safe work practices for silica and construction dust.
Instead of relying purely on the clock, inspect the wall.
A properly dried surface should feel firm rather than soft or rubbery. It should not feel noticeably damp or cold in isolated patches. Sanding should produce a controlled, consistent result rather than dragging the abrasive through soft material.
Good lighting helps here. Shine a work light across the wall at a low angle and look for ridges, hollows, scratches and uneven transitions. What looks perfect under ordinary room lighting can suddenly reveal itself under a bright side light. Walls have a sneaky talent for exposing bad preparation once paint goes on.
Once sanding is complete, remove the resulting dust thoroughly before moving to the next stage.
The wall putty drying time before painting is not simply the same as the time required between two putty coats.
Before painting, the entire preparation system needs to be complete. That usually means the putty has dried, the surface has been sanded, dust has been removed and the required primer or undercoat has been applied according to the selected paint system.
Some products specifically recommend primer and emulsion after the putty stage. Asian Paints' Professional Wall Putty instructions, for example, describe a process involving two putty coats followed by primer and emulsion coats.
This is why painting too early can be counterproductive. If moisture remains trapped or the surface preparation is incomplete, the final coating may not deliver the smooth, uniform result you were expecting.
If you're wondering when to paint after wall putty, look beyond the calendar.
The wall should be properly dry, uniformly prepared and free from loose sanding dust. Any repairs or additional filling should also be completed. If the manufacturer's instructions specify a particular waiting period before primer or paint, follow that instruction.
For cement-based products, waiting beyond the minimum recoat period can be sensible when conditions are cool, damp or poorly ventilated. For acrylic products, the required interval may be shorter, but that does not remove the need for proper sanding and preparation.
The final decision should come from the product technical data sheet + actual surface condition + environmental conditions, rather than a generic "wait six hours" rule.
One common mistake is applying putty too thickly in an attempt to level a badly uneven wall in one pass. Another is closing every window and door while expecting moisture to disappear quickly. A third is sanding the surface simply because the minimum stated time has passed, without checking whether the wall is genuinely ready.
Another problem is painting over dust. Even perfectly dried wall putty can deliver a poor finish if sanding residue remains on the surface.
Finally, don't treat moisture problems as a putty problem. If a wall has persistent dampness, seepage or recurring staining, covering it with another layer of finishing material may hide the symptom without addressing the underlying cause.
Wall putty curing time depends on the product formulation and the manufacturer's instructions.
Cement-based materials and specialised products should not automatically be treated like ordinary paint. Some wall putties are designed with specific application and drying procedures, while others may require different preparation or moisture conditions.
For example, published product instructions show that some cement-based wall putties require pre-wetting but do not require water curing in the same way some cementitious materials might.
So, rather than assuming every wall putty requires the same curing routine, check the product documentation. That small step can prevent a surprisingly large amount of rework.
The ideal wall putty drying conditions are generally those specified by the manufacturer: suitable temperature, controlled humidity, reasonable airflow and a properly prepared substrate.
Avoid extreme conditions whenever possible. Excessive humidity can slow drying, while intense heat or direct sunlight can encourage uneven drying. Poor ventilation can also extend the process.
The best result comes from allowing the material to dry naturally under suitable conditions rather than trying to force it.
And remember: drying time is not a race. If you save a few hours but create sanding marks, adhesion problems or an uneven paint finish, you've probably lost far more time than you saved.
Getting the wall putty drying time right is less about memorising one magic number and more about understanding the material and conditions. Depending on the product, several hours may be enough between coats, while the complete route to painting involves drying, sanding, cleaning and often priming. Temperature, humidity, coat thickness, substrate condition and ventilation can all change the practical timeline. Manufacturer instructions should therefore be your primary reference.
For a smoother, more dependable wall-finishing process, choosing the right putty and applying it correctly matters just as much as waiting for it to dry. If you're planning a wall-finishing project, explore Lapifix Wall Putty and contact Lapifix for product information suited to your application.
For many common wall putties, drying or recoat time can fall within roughly 4–8 hours under suitable conditions, but the exact requirement depends on the formulation and manufacturer. Some acrylic products specify shorter drying characteristics, while cement-based products can require longer intervals.
Possibly, but not automatically. Some products specify a 4–6 hour recoat period, but sanding readiness depends on the actual product, coat thickness and environmental conditions. Check that the surface is firm and adequately dry before sanding.
There is no universal number. After the final putty coat has dried, the surface normally needs sanding, dust removal and any required primer before painting. Follow the product's technical data sheet for the specific waiting periods.
Yes. High humidity can slow moisture evaporation and therefore extend drying time. Poor ventilation can make the effect more noticeable. Give the surface additional time when conditions are damp rather than relying solely on the minimum stated drying period.
Improving normal airflow and maintaining suitable room conditions can help, but aggressive heating or forcing the surface to dry rapidly is not a reliable shortcut. Uneven drying can affect the finish. It is better to follow the manufacturer's recommended application conditions.
Painting too early can interfere with the finishing system and may contribute to an uneven appearance or other coating problems. The putty should be adequately dry, properly sanded and cleaned before the next coating stage.