


You've spent time preparing the wall, carefully applied the putty, and imagined a perfectly smooth finish ready for painting. Then, a few days later, tiny cracks start appearing across the surface. It's frustrating, expensive, and surprisingly common.
Across residential, commercial, and renovation projects worldwide, wall putty cracking remains one of the most frequent surface-finishing problems. Whether you're a homeowner planning a renovation, a contractor managing multiple projects, or an architect overseeing premium interiors, understanding why wall putty fails can save both time and money.
At Lapifix, we regularly receive enquiries from contractors, painters, builders, and homeowners dealing with hairline cracks, shrinkage cracks, and paint defects that appear after wall putty application. Based on our experience across residential and commercial projects, one pattern consistently stands out: most wall putty cracking issues are not caused by the product itself but by factors such as poor wall surface preparation, excessive coat thickness, incorrect mixing ratios, inadequate drying time, or underlying moisture problems. Identifying these issues early helps reduce costly rework, improves finish quality, and supports long-term wall durability.
Wall putty cracks are typically caused by poor wall surface preparation, excessive application thickness, incorrect water-to-putty mixing ratios, rapid drying conditions, substrate movement, moisture infiltration, or inadequate curing time. In most cases, cracking is not caused by the putty material itself but by application and environmental factors. Following the correct wall putty application process, preparing the surface properly, and allowing sufficient drying and curing time can significantly reduce the risk of cracks and improve long-term wall performance.
Wall putty usually cracks because of improper surface preparation, excessive application thickness, incorrect water mixing ratios, rapid drying conditions, moisture problems, or substrate movement. Most wall putty failures can be prevented by following correct application procedures, using quality materials, and ensuring proper curing conditions.
This is one of the most common finishing issues encountered in both residential and commercial construction projects. Fortunately, identifying the root cause early can help prevent costly repairs later.
Wall putty is a fine finishing material applied before painting to create smooth, uniform, and aesthetically pleasing wall surfaces. It helps fill minor imperfections, improves paint adhesion, and enhances the final appearance of interior wall putty and exterior wall putty applications.
Think of wall putty as the foundation beneath a luxury car's paint finish. Even the best paint struggles to perform if the surface underneath is uneven or unstable. The same principle applies to walls.
Today, white cement wall putty, acrylic wall putty, waterproof wall putty, and cement based wall putty are widely used depending on project requirements and environmental conditions.
Not all cracks are the same.
Some cracks appear as thin hairline lines across the surface. Others develop into wider visible fractures that can eventually affect paint quality. Understanding the type of crack helps determine the appropriate repair solution.
|
Crack Type |
Typical Cause |
Severity |
|
Hairline Cracks |
Shrinkage during drying |
Low |
|
Surface Cracks |
Thick application |
Medium |
|
Map Cracks |
Improper curing |
Medium |
|
Structural Cracks |
Substrate movement |
High |
|
Moisture Cracks |
Water infiltration |
High |
|
Paint-Line Cracks |
Poor adhesion |
Medium |
While hairline cracks are often cosmetic, larger cracks may indicate deeper substrate or application issues.
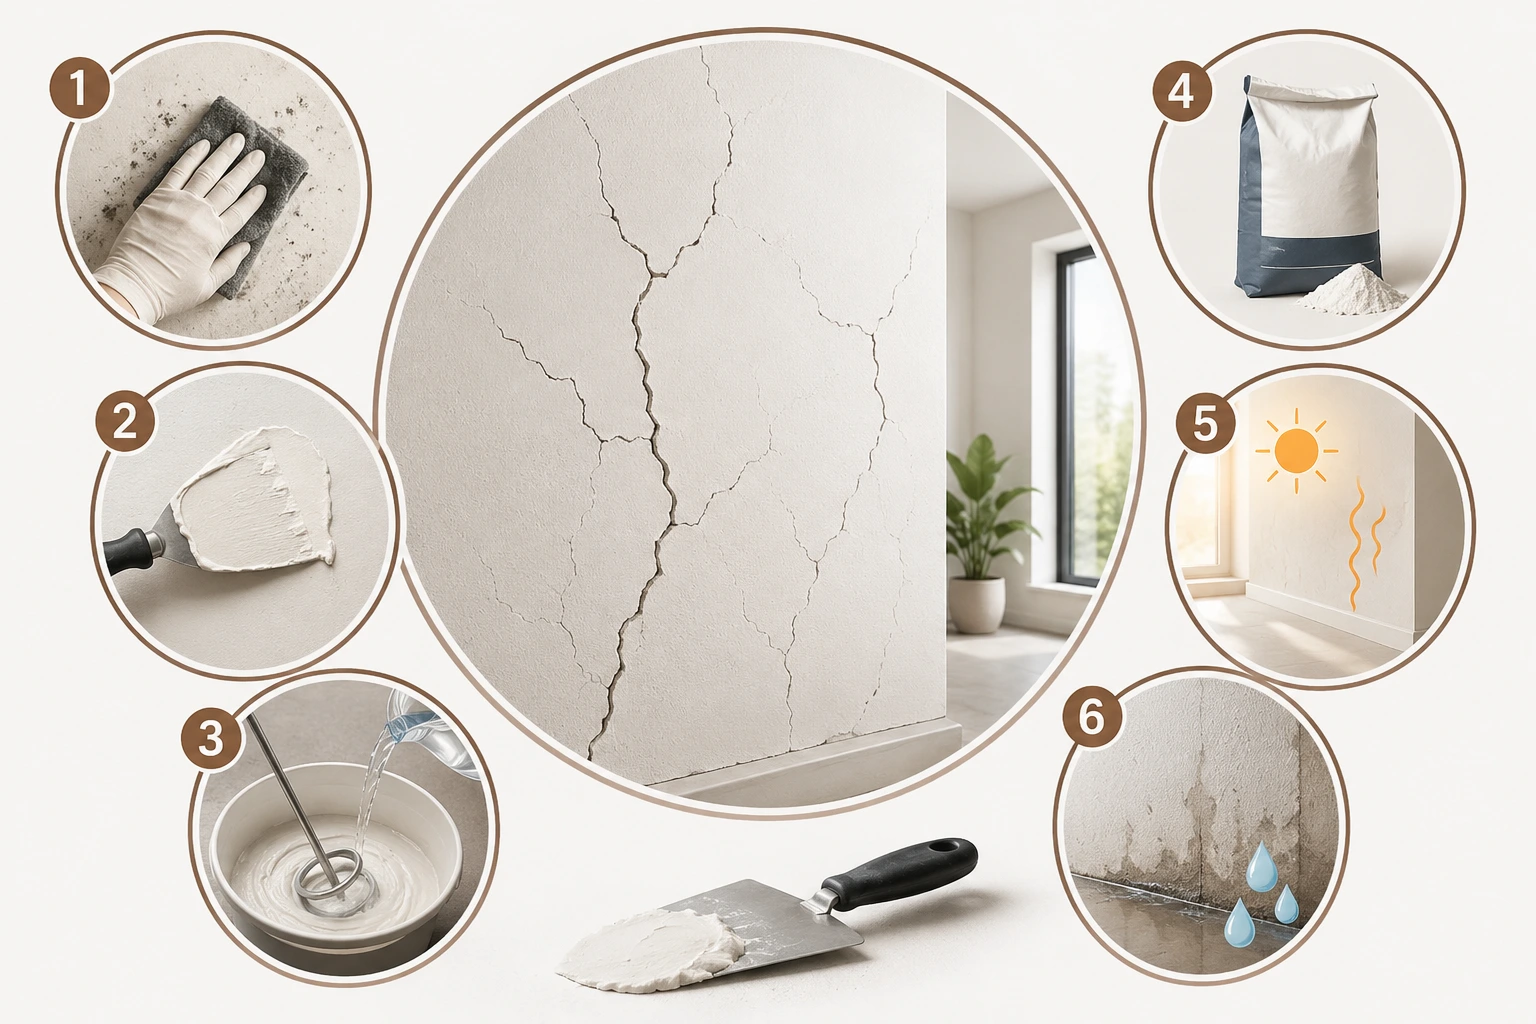
Understanding why cracks occur helps prevent them from returning.
One of the leading causes of wall putty failure is inadequate wall surface preparation.
Walls contaminated with dust, grease, loose particles, old paint residue, or moisture can significantly reduce adhesion. When putty struggles to bond properly with the substrate, cracking often follows.
Professional contractors understand that surface preparation is not an optional step. It is the foundation of the entire wall finishing system.
In many projects, the problem starts long before the putty is even mixed.
Many people assume thicker applications create smoother walls. Ironically, the opposite is often true.
When wall putty is applied in excessively thick layers, the outer surface may dry faster than the inner material. This uneven drying process creates internal stress that can eventually result in cracking.
Most manufacturers recommend applying multiple thin coats rather than a single heavy coat.
Think of it like baking a cake. A giant cake baked too quickly often cracks on top because the outer layer sets before the inside finishes cooking.
Proper mixing is critical.
Adding too much water can weaken the material structure, while insufficient water may reduce workability and bonding performance.
During professional wall putty application, contractors carefully follow manufacturer guidelines regarding water ratios and mixing procedures. Even small deviations can affect the final performance of the product.
At Lapifix, one of the most common application mistakes we encounter involves inconsistent mixing practices across large projects where multiple workers prepare batches separately.
Not all wall putty products perform equally.
Low-quality materials often contain inconsistent raw materials, inferior binders, or poor-quality fillers that compromise durability.
Choosing the best wall putty for painting requires more than comparing prices. Product consistency, manufacturing quality, and technical specifications play a major role in long-term performance.
A premium wall putty manufacturer typically invests heavily in quality control systems, raw material verification, and testing procedures to ensure consistent results.
Environmental conditions can dramatically influence wall putty drying time.
Hot weather, strong winds, direct sunlight, and low humidity may cause the surface to dry too quickly. Rapid moisture loss can increase shrinkage stresses and contribute to crack formation.
This issue is particularly common during summer construction projects where exposed surfaces experience accelerated drying.
Proper curing practices help reduce these risks.
Water remains one of the biggest enemies of durable wall finishes.
Moisture infiltration caused by leaks, rising dampness, poor waterproofing, or condensation can weaken the substrate and affect adhesion.
Even high-quality waterproof wall putty cannot permanently solve ongoing moisture problems originating inside the wall structure.
Before performing wall putty crack repair, contractors should always investigate potential moisture sources.
Different formulations behave differently under stress.
White cement wall putty typically offers excellent durability and strength for both interior and exterior applications. Acrylic wall putty often provides enhanced flexibility and smoother finishing characteristics.
Exterior wall putty must withstand temperature fluctuations, UV exposure, rainfall, and environmental stress. Interior wall putty faces different challenges, including air conditioning, humidity variations, and surface movement.
Selecting the correct product for the intended application significantly reduces cracking risks.
In many cases, cracking does not happen overnight.
Watch for these warning signs:
Fine surface lines appearing after drying
Powdery or chalky surfaces
Uneven texture development
Poor adhesion around edges
Discolouration near damp areas
Visible shrinkage patterns
Identifying these symptoms early often allows corrective action before major repairs become necessary.
Many property owners assume minor cracks are purely cosmetic.
Unfortunately, small cracks can gradually lead to larger problems. Paint adhesion may deteriorate. Moisture penetration can increase. Surface appearance may decline over time.
In commercial projects, visible wall defects can negatively affect client perception, property value, and maintenance budgets.
Addressing problems early is usually far more cost-effective than waiting until complete refinishing becomes necessary.
Not all projects face the same level of risk.
Several variables influence performance:
Quality of substrate
Environmental conditions
Application thickness
Material quality
Surface preparation standards
Worker experience
Curing practices
This explains why identical products can perform exceptionally well on one project and poorly on another.
Successful outcomes depend on the entire system, not simply the product itself.
One common misconception is assuming every crack originates from the paint layer.
In reality, paint failure due to wall putty often occurs because the underlying putty layer has already developed structural weaknesses. The paint simply reveals the issue rather than causing it.
Understanding the distinction helps determine whether repairs should focus on repainting or correcting the underlying wall finishing compound itself.
The next step is learning how to prevent these problems before they occur and understanding the professional solutions used by experienced contractors worldwide.
The best wall putty crack repair is the one you never have to perform.
Most cracking problems can be prevented through proper planning, quality materials, and correct application practices. Professional contractors rarely rely on luck. They follow systematic procedures that minimise risks from the very beginning.
A crack-free finish is usually the result of dozens of small decisions made correctly throughout the project.
If there is one area where professionals and DIY users differ most, it is wall surface preparation.
A clean, stable, and properly prepared substrate allows the putty to bond effectively. Without adequate preparation, even premium products may struggle to perform as intended.
Before starting the wall putty application process, surfaces should be inspected for:
Dust and loose particles
Oil or grease contamination
Existing paint failures
Efflorescence
Moisture damage
Surface cracks
Uneven substrate conditions
Removing contaminants and repairing underlying defects creates the ideal foundation for long-term performance.
In many projects, wall surface preparation determines the success of the finish more than the putty product itself.
One of the most common mistakes is applying wall putty too thick in a single pass.
Although a thicker coat may seem like a faster solution, it often increases the risk of shrinkage cracking. As moisture evaporates, internal stresses develop within the material. When these stresses exceed the strength of the drying layer, cracks begin to appear.
Professional wall putty application generally follows a multi-coat approach. Each coat is allowed to dry properly before the next layer is applied.
This gradual build-up helps maintain stability while producing smoother results.
Think of it like building a strong wall. Layer by layer is usually safer than trying to do everything at once.
Wall putty drying time plays a crucial role in performance.
Many failures occur because contractors rush the process. When primer or paint is applied before the putty has adequately cured, trapped moisture can create adhesion issues, blistering, or cracking.
Under normal conditions, wall putty typically becomes touch dry within 4–6 hours, while complete curing may require 24–48 hours depending on temperature, humidity levels, substrate condition, ventilation, and application thickness.
Exterior wall putty applications may require longer curing periods during humid or rainy weather, particularly when multiple coats are applied. Following the manufacturer's recommended drying and curing guidelines helps minimise cracking, improve adhesion, and create a stronger foundation for painting.
Drying times vary depending on:
|
Factor |
Impact on Drying |
|
Temperature |
Higher temperatures accelerate drying |
|
Humidity |
High humidity slows drying |
|
Airflow |
Increased airflow speeds drying |
|
Coat Thickness |
Thicker coats require more drying time |
|
Substrate Type |
Absorption rates influence curing |
Always follow manufacturer recommendations regarding drying intervals between coats and before painting.
Patience during curing often saves significant repair costs later.
Not every wall requires the same product.
Different project conditions may call for different formulations. Selecting the wrong product can increase cracking risks even when application techniques are correct.
|
Putty Type |
Typical Use |
|
White Cement Wall Putty |
General interior and exterior applications |
|
Acrylic Wall Putty |
Smooth interior finishes |
|
Waterproof Wall Putty |
Damp-prone environments |
|
Exterior Wall Putty |
Outdoor surfaces exposed to weather |
|
Interior Wall Putty |
Indoor decorative finishes |
Choosing a product that matches the environmental conditions helps improve long-term durability.
For projects exposed to moisture, waterproof wall putty often provides additional protection against environmental stresses.
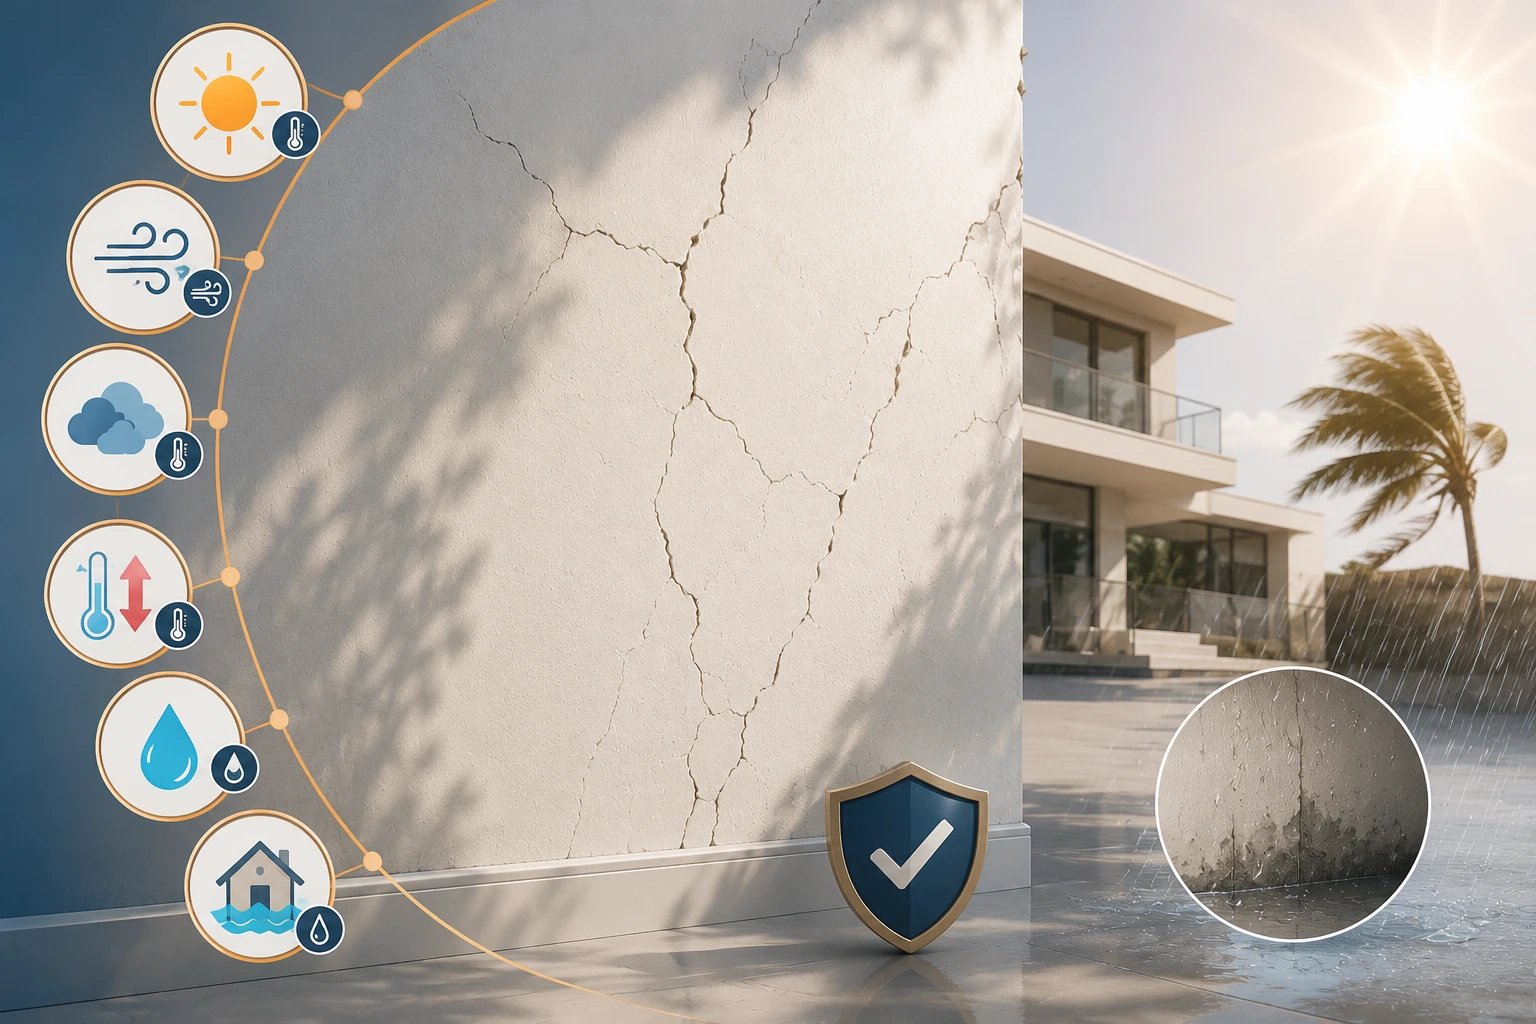
Environmental conditions are frequently underestimated.
Even perfectly applied putty may develop problems when exposed to challenging site conditions.
Common environmental contributors include:
Direct sunlight during application
High ambient temperatures
Strong wind exposure
Sudden temperature fluctuations
Excessive humidity
Persistent moisture infiltration
Contractors often schedule applications during cooler periods of the day to reduce drying stresses and improve workability.
In large-scale projects, temporary shading may even be used to improve curing conditions.
Moisture deserves special attention because it contributes to numerous finishing defects.
Water entering the substrate through leaks, rising dampness, plumbing issues, or inadequate waterproofing can weaken adhesion and create movement within the wall system.
When moisture levels fluctuate repeatedly, stresses develop between the substrate, putty layer, primer, and paint system.
Over time, these stresses may result in cracking, peeling, or blistering.
This is one reason why addressing moisture problems should always take priority over cosmetic repairs.
Even experienced workers occasionally make avoidable mistakes.
The following issues frequently contribute to wall putty failures:
Incorrect water ratios
Inadequate mixing
Excessive layer thickness
Poor substrate cleaning
Insufficient drying time
Application on damp surfaces
Using expired materials
Many of these problems are preventable through training, supervision, and adherence to manufacturer guidelines.
At Lapifix, we often observe that projects with standardised application procedures experience significantly fewer finishing defects compared to projects where installation methods vary between teams.
When cracks have already appeared, repairs should focus on identifying and correcting the root cause.
Simply painting over cracks rarely provides a long-term solution.
Professional repair procedures typically involve:
Identifying the cause of cracking
Removing loose material
Repairing substrate defects if present
Reapplying compatible wall putty
Allowing proper curing
Priming and repainting
The repair method depends on the crack type, severity, and underlying cause.
Hairline cracks may require relatively minor intervention, while moisture-related failures often demand more comprehensive corrective measures.
To prevent wall putty from cracking, ensure proper wall surface preparation, use the correct water mixing ratio, apply multiple thin coats instead of one thick layer, allow adequate drying time between coats, control moisture issues, and select a high-quality wall putty suitable for the environment. Following manufacturer guidelines significantly reduces cracking risks.
This simple answer addresses one of the most common questions asked by homeowners, contractors, and painters.
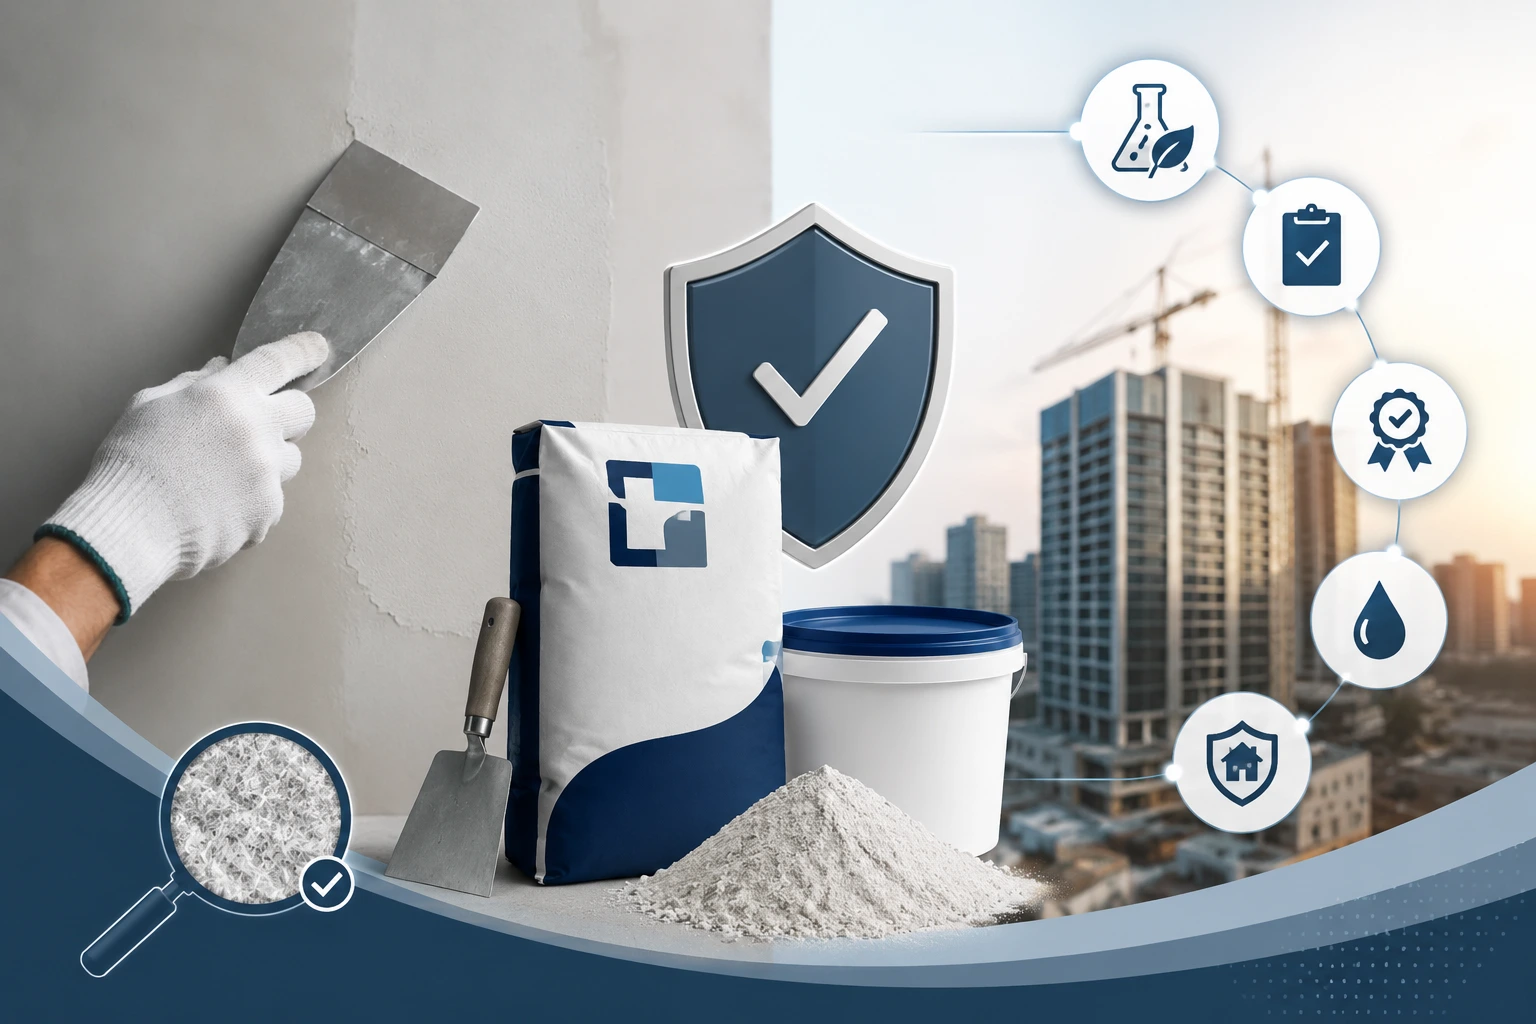
Quality materials play a major role in long-term results.
A reliable wall putty supplier India or global manufacturer should maintain consistent raw material quality, documented production processes, and ongoing quality control procedures.
Buyers should also evaluate whether manufacturers operate under recognised quality management systems such as ISO 9001 and maintain documented quality control procedures throughout production.
Consistent raw material verification, batch testing, and performance monitoring help improve product reliability, application consistency, and long-term surface performance. These quality measures provide greater confidence that the wall putty will perform as expected across different project conditions and environments.
Buyers evaluating wall putty products should consider:
Product consistency
Raw material quality
Technical specifications
Coverage rates
Drying performance
Crack resistance
Moisture resistance
These factors influence not only initial performance but also long-term durability.
For guidance on construction product regulations and building performance requirements, professionals can review information available through the Australian Building Codes Board (ABCB) building guidance resources.
Another factor that indirectly affects performance is material planning.
Insufficient material often leads to inconsistent application practices as installers attempt to stretch product usage beyond recommended limits.
Wall putty coverage per square foot varies depending on:
Surface condition
Number of coats
Product type
Application thickness
Substrate absorption
Rough surfaces generally require more material than smooth surfaces.
Proper planning helps maintain consistent application quality throughout the project.
Interior wall putty and exterior wall putty operate under very different conditions.
Interior applications focus primarily on appearance, smoothness, and paint compatibility. Exterior applications must withstand weather exposure, UV radiation, temperature changes, and moisture fluctuations.
This distinction explains why exterior wall putty formulations often include performance enhancements designed specifically for outdoor environments.
Using interior products outdoors can significantly increase the likelihood of failure.
Many buyers focus heavily on initial cost.
While budget considerations are important, lower-cost materials sometimes create higher long-term expenses through repairs, maintenance, and repainting.
The best wall putty for painting is not necessarily the cheapest option. Instead, it is the product that delivers consistent performance, reliable adhesion, smooth finishing characteristics, and long-term durability.
A premium wall finishing compound often provides better value when evaluated across the entire lifecycle of the wall system.
Quality wall finishes start long before the paint is applied.
At Lapifix, we understand that wall putty performance depends on a combination of material quality, proper surface preparation, application techniques, and environmental conditions. A smooth finish is not simply the result of applying putty to a wall. It is the outcome of a complete system working together correctly.
Depending on project requirements and application conditions, wall putty systems may undergo multiple quality checkpoints throughout the application process. These evaluations can include substrate inspections, mixing consistency verification, application thickness monitoring, drying assessments, adhesion checks, and final surface quality reviews before painting begins. This systematic approach helps improve finish quality, enhance surface durability, and minimise the risk of cracking, blistering, uneven finishes, and paint-related defects over time.
Our experience working with contractors, builders, painters, and project owners has shown that many wall finishing failures can be traced back to preventable issues such as poor substrate preparation, excessive coat thickness, incorrect mixing practices, or inadequate curing time.
Depending on project requirements and application conditions, wall putty systems may require multiple quality checkpoints throughout the application process. These evaluations can include wall surface preparation inspections, mixing consistency checks, application thickness monitoring, drying assessments, and final surface evaluations before painting begins. This systematic approach helps improve finish quality while reducing the likelihood of cracking and paint-related defects.
Businesses and contractors looking for professional wall finishing solutions can explore Lapifix products and technical guidance to better understand application requirements and best practices for achieving durable results.
Repairing cracked wall putty successfully requires more than covering the visible damage.
Professional contractors first determine whether the crack is cosmetic, application-related, moisture-related, or structural. The repair strategy is then tailored accordingly.
For minor hairline cracks, the damaged area is typically cleaned, lightly sanded, and refinished with compatible material before repainting. Larger cracks may require partial removal of the affected putty layer and complete reapplication.
When moisture is involved, solving the water problem becomes the priority. Repairing the surface without eliminating the source of moisture usually results in recurring failures.
For structural movement, consultation with qualified building professionals may be necessary before cosmetic repairs are attempted.
The key principle is simple: treat the cause, not just the symptom.
Even experienced professionals occasionally overlook details that affect long-term performance.
Some of the most common mistakes include:
Applying putty on dusty or contaminated surfaces
Using incorrect water ratios
Skipping recommended drying intervals
Applying coats that are too thick
Ignoring moisture issues
Using inappropriate products for exterior conditions
Rushing painting schedules
Many of these issues arise from project timelines that prioritise speed over quality.
Ironically, taking shortcuts often creates delays later when repairs become necessary.
One question frequently asked by property owners is whether wall cracks indicate a serious structural problem.
In many cases, wall putty cracks are superficial and limited to the finishing layer. These cracks are usually thin, shallow, and confined to the surface.
Structural cracks tend to be wider, deeper, and may continue through plaster, masonry, or concrete components. They often reappear after cosmetic repairs and may change over time.
If cracks continue to widen, follow repeating patterns, or appear alongside signs of movement, professional assessment is recommended.
Understanding this distinction helps prevent unnecessary concern while ensuring genuine structural issues receive appropriate attention.
Repairing damaged surfaces consumes time, labour, and materials.
Preventing cracks from developing in the first place is generally far more cost-effective.
Successful prevention involves:
Proper wall surface preparation
Correct product selection
Controlled application thickness
Adequate drying time
Moisture management
Consistent workmanship
These practices create stronger, more stable finishing systems that maintain their appearance over time.
For homeowners and contractors alike, prevention almost always delivers the highest return on investment.
Construction materials continue to evolve.
Modern wall putty formulations are increasingly designed to improve workability, crack resistance, adhesion, and durability. Manufacturers continue investing in advanced additives, improved binders, and enhanced quality control systems to meet growing expectations from builders and property owners.
As construction standards continue to improve globally, demand for high-performance wall finishing solutions is expected to increase.
The focus is shifting from simply achieving a smooth appearance to delivering finishes that remain attractive and durable for years.
Wall putty cracks rarely appear without a reason. In most cases, they result from preventable issues such as poor wall surface preparation, excessive application thickness, incorrect mixing ratios, rapid drying conditions, moisture problems, or inappropriate product selection. Understanding these causes allows homeowners, contractors, and project managers to make better decisions before problems develop.
By following proper wall putty application practices, allowing adequate drying time, managing moisture effectively, and selecting quality materials, you can significantly reduce the risk of cracking and improve long-term wall performance. If you're looking for reliable wall finishing solutions and technical guidance, explore the Lapifix wall finishing product range and connect with our team to discuss your project requirements. Our experts can help you choose the right solution for smooth, durable, and professional-looking walls.
Wall putty commonly cracks after drying because of poor surface preparation, excessive application thickness, incorrect water ratios, rapid drying conditions, or moisture-related issues. Identifying the underlying cause is essential for preventing future cracking.
Yes, minor hairline cracks can often be repaired locally by cleaning the area, sanding the surface, reapplying compatible putty, and repainting. Larger or recurring cracks may require more extensive repairs depending on the underlying cause.
Drying times vary depending on product type, humidity, temperature, and application thickness. Most manufacturers recommend allowing adequate curing time before applying primer and paint to ensure proper adhesion and durability.
Waterproof wall putty can help reduce problems associated with moisture exposure, but it does not eliminate all cracking risks. Proper application practices and substrate preparation remain essential for long-term performance.
Yes. Dust, grease, loose particles, old paint residue, and moisture can significantly reduce adhesion. Poor wall surface preparation is one of the leading causes of wall putty failure worldwide.
The most effective prevention strategy includes thorough surface preparation, proper mixing, applying multiple thin coats, allowing sufficient drying time, controlling moisture issues, and using high-quality wall putty products appropriate for the project conditions.