

You've chosen the paint colour, prepared the room, and imagined perfectly smooth walls transforming your space. Everything seems on track until a few weeks later when cracks, peeling paint, blistering, or uneven patches start appearing. What many property owners don't realise is that paint failure often begins long before the first coat of paint is applied.
Across residential homes, commercial buildings, and renovation projects worldwide, poor wall putty application remains one of the leading causes of paint-related defects. Whether you're a homeowner upgrading your interiors, a contractor managing multiple projects, or a developer delivering premium spaces, understanding common wall putty mistakes can save significant repair costs and frustration.
At Lapifix, we work closely with contractors, builders, painters, architects, and project owners who demand durable wall finishes and long-lasting paint performance. If you're preparing a new project, our guide on wall putty application and surface preparation can help you understand the fundamentals of achieving a strong foundation before painting begins.
At Lapifix, we regularly receive enquiries regarding paint peeling, surface cracking, uneven finishes, and adhesion failures. Based on our experience across residential and commercial projects, one trend appears repeatedly: most paint failures are not caused by the paint itself.
Instead, they originate from mistakes made during wall putty application, inadequate surface preparation, improper drying practices, or unsuitable product selection. Identifying these issues early helps create smoother walls, stronger paint adhesion, and significantly better long-term results.
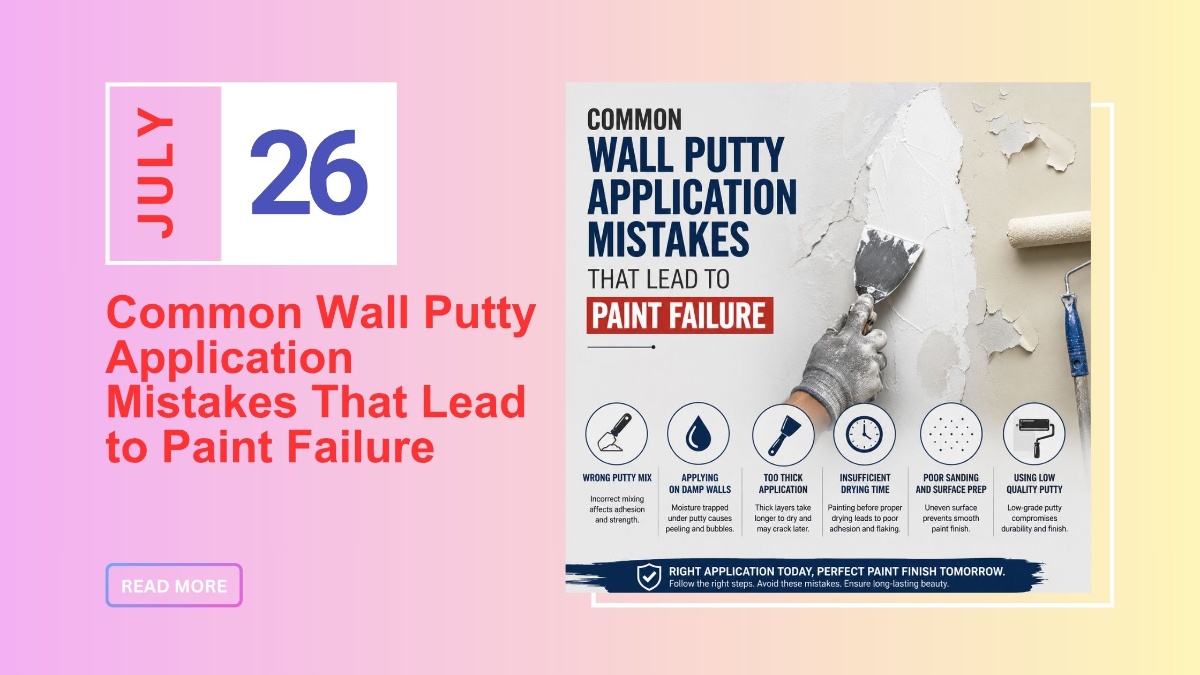
Paint failure due to wall putty is typically caused by poor wall surface preparation, incorrect mixing ratios, excessive application thickness, insufficient drying time, moisture intrusion, or improper product selection.
When wall putty is applied incorrectly, the paint system loses its ability to bond effectively with the substrate, leading to peeling, blistering, cracking, chalking, and reduced durability. Following the correct wall putty application process significantly improves paint performance and finish quality.
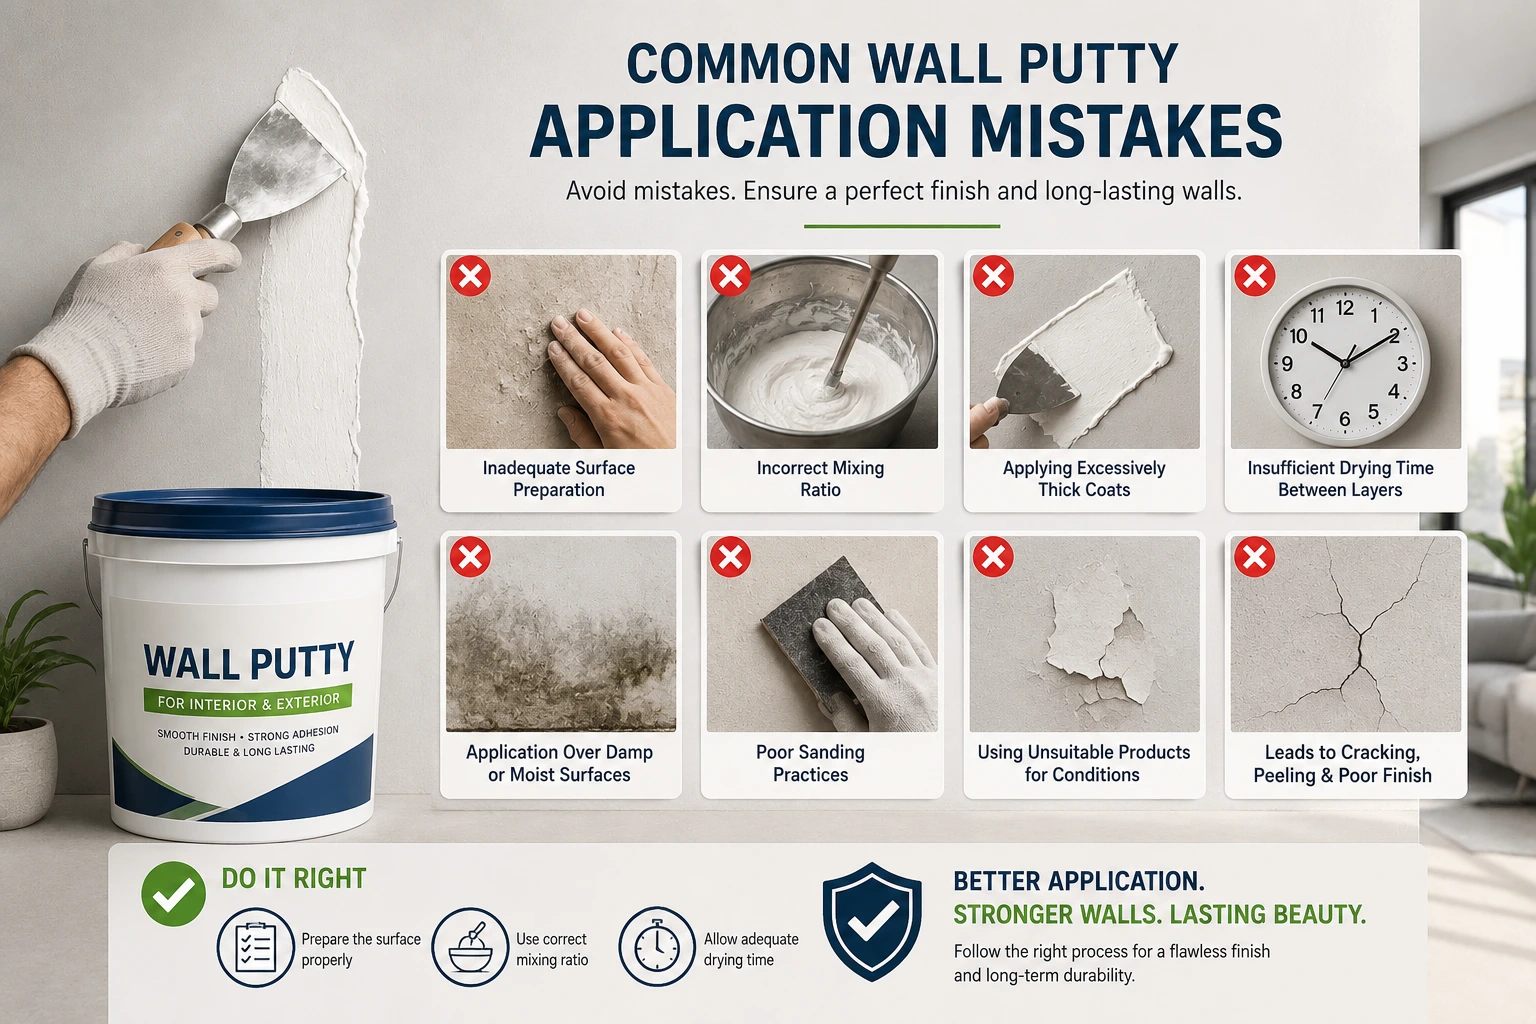
The most common wall putty application mistakes include inadequate wall surface preparation, incorrect water-to-putty mixing ratios, applying excessively thick coats, insufficient drying time between layers, application over damp or moisture-affected surfaces, poor sanding practices, and selecting unsuitable products for specific project conditions. These mistakes can lead to paint peeling, blistering, cracking, uneven finishes, reduced adhesion, and premature coating failure.
Following the correct wall putty application process, allowing adequate curing time, and using appropriate materials significantly improves paint performance, finish quality, and long-term wall durability.
For most residential, commercial, and renovation projects, following the correct wall putty application process, allowing adequate curing time, and using products suited to the project environment significantly improves paint performance, finish quality, and long-term wall durability.
Most people blame paint when problems appear on a finished wall. In reality, paint acts more like the visible layer of a much larger system. If the foundation underneath is weak, even premium paints can struggle to perform.
Think of wall putty like the foundation of a luxury home. You can install expensive fixtures and beautiful finishes, but if the foundation is unstable, problems eventually surface. The same principle applies to wall finishing systems. Properly applied wall putty creates a smooth, stable, and durable surface that supports paint adhesion and long-term performance.
When mistakes occur during the preparation stage, the symptoms may not appear immediately. Some problems develop over weeks, while others become visible months after project completion. Understanding these common mistakes helps prevent expensive corrective work later.
Wall putty is a wall finishing compound used to create smooth, level surfaces before painting. It helps fill minor imperfections, improve paint adhesion, enhance finish quality, and increase the lifespan of decorative coatings.
Modern wall finishing projects commonly utilise white cement wall putty, acrylic wall putty, waterproof wall putty, and specialised cement based wall putty formulations depending on project requirements. Both interior wall putty and exterior wall putty products play critical roles in achieving professional finishes.
Without properly applied wall putty, walls may develop visible imperfections, inconsistent paint absorption, poor colour uniformity, and premature paint deterioration.
One of the most common causes of paint failure due to wall putty is poor wall surface preparation.
Walls often contain dust, loose particles, grease, old paint residues, efflorescence, or moisture contamination. Applying putty directly over these surfaces prevents proper bonding and weakens the entire finishing system.
Professional wall putty application always begins with thorough cleaning and inspection. Any unstable material should be removed before application begins. Even high-quality products struggle to perform when applied over poorly prepared substrates.
In many cases, contractors attempt to save time during preparation, only to spend significantly more time correcting failures later.
Wall putty performance depends heavily on proper mixing.
Adding excessive water may make the material easier to spread initially, but it often weakens the final structure. On the other hand, insufficient water can create poor workability, inconsistent texture, and reduced adhesion.
Many application problems originate from guesswork rather than following manufacturer instructions. Every premium wall putty manufacturer provides recommended mixing guidelines for a reason.
The correct consistency should allow smooth application without excessive sagging, cracking, or shrinkage during drying. Contractors who carefully control mixing ratios typically achieve more consistent results across large projects.
Thicker does not always mean better.
A common misconception is that applying a single thick coat will save time compared to multiple thinner coats. Unfortunately, this approach often creates serious performance issues.
When wall putty is applied too thickly, the outer layer may dry faster than the inner material. This uneven curing process can generate internal stresses that eventually lead to:
Hairline cracks
Shrinkage cracks
Surface debonding
Reduced paint adhesion
Uneven wall finishes
Multiple thin coats generally provide better durability, more consistent drying, and smoother final surfaces compared to a single heavy application.
Proper application thickness also helps maintain predictable wall putty coverage per square foot, making material planning more accurate and cost-effective.
Many wall finishing defects appear minor during installation but become much more significant after painting.
A tiny crack may eventually become a visible surface defect. Slight moisture trapped beneath the putty can lead to blistering months later. Minor adhesion weaknesses can gradually result in paint peeling under changing environmental conditions.
This is why experienced contractors focus heavily on process control rather than simply product selection. The best wall putty for painting can only perform properly when applied correctly.
The good news is that most paint failures caused by wall putty are preventable. By understanding the common mistakes discussed above and following proven application practices, project teams can dramatically improve long-term wall performance.
One of the fastest ways to create future paint problems is rushing the drying process.
Construction schedules are often tight, and contractors may feel pressure to complete projects quickly. However, applying primer or paint before wall putty has adequately dried can trap moisture within the wall system.
This trapped moisture often leads to paint bubbling, blistering, poor adhesion, discolouration, and premature coating failure. The problem may not become visible immediately, but it almost always reveals itself over time.
Wall putty drying time plays a crucial role in long-term performance.
Many failures occur because contractors rush the process. When primer or paint is applied before the putty has adequately cured, trapped moisture can create adhesion issues, blistering, or cracking.
Under normal conditions, wall putty typically becomes touch dry within 4–6 hours, while complete curing may require 24–48 hours depending on temperature, humidity levels, substrate condition, ventilation, and application thickness.
Exterior wall putty applications may require longer curing periods during humid or rainy weather, particularly when multiple coats are applied. Following the manufacturer's recommended drying and curing guidelines helps minimise cracking, improve adhesion, and create a stronger foundation for painting.
Drying times vary depending on:
|
Factor |
Impact on Drying |
|
Temperature |
Higher temperatures accelerate drying |
|
Humidity |
High humidity slows drying |
|
Airflow |
Increased airflow speeds drying |
|
Coat Thickness |
Thicker coats require more drying time |
|
Substrate Type |
Absorption rates influence curing |
Always follow manufacturer recommendations regarding drying intervals between coats and before painting.
Patience during curing often saves significant repair costs later.
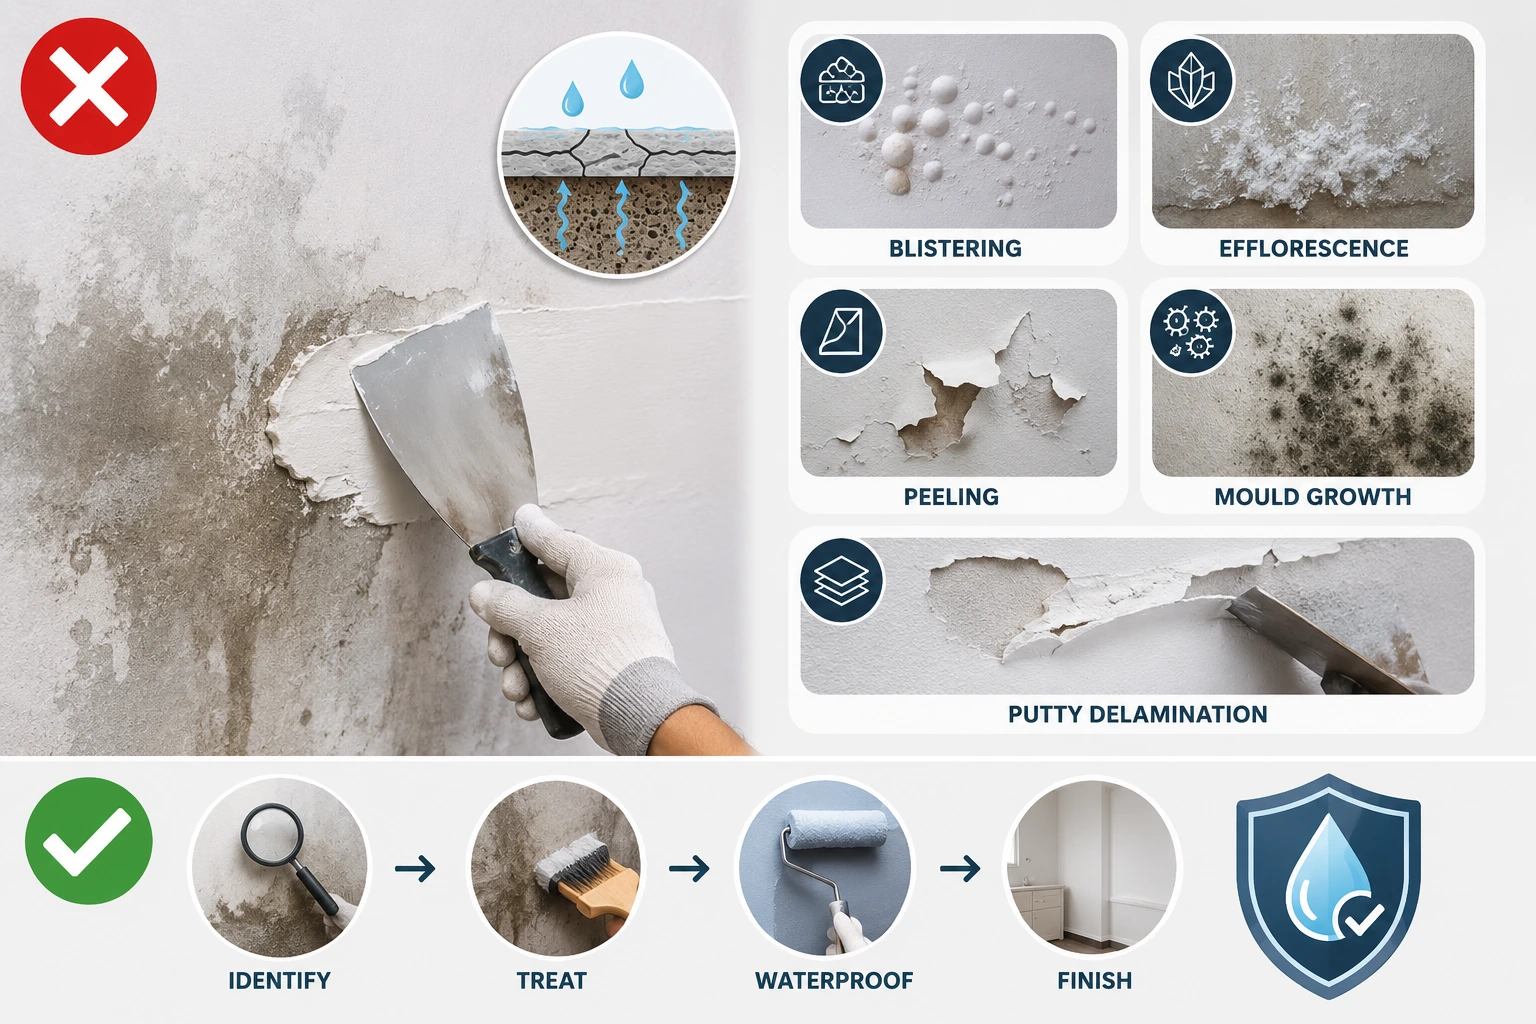
Moisture remains one of the most destructive threats to wall finishing systems.
Many contractors mistakenly apply interior wall putty or exterior wall putty over walls affected by seepage, dampness, or unresolved water ingress issues. While the surface may initially appear acceptable, hidden moisture continues to affect the substrate.
Over time, this can result in:
Paint blistering
Surface efflorescence
Peeling paint
Mould growth
Putty delamination
Waterproof wall putty can improve resistance against moisture exposure, but it should never be viewed as a substitute for proper waterproofing or moisture remediation.
Before beginning any wall finishing project, moisture-related issues should always be identified and resolved.
Not all wall putty products are designed for the same applications.
Some projects require white cement wall putty for superior durability and moisture resistance. Others may benefit from acrylic wall putty because of its flexibility and ease of application.
Selecting the wrong product often leads to compatibility issues, reduced durability, and poor finish quality.
For example, using interior wall putty in exterior environments exposes the system to weather conditions it was never designed to withstand. Similarly, applying standard products in high-humidity areas can increase the risk of long-term performance issues.
Matching product specifications to project requirements is one of the simplest ways to improve finishing results.
Wall putty for smooth walls requires more than just proper application.
Sanding plays a crucial role in achieving a professional finish. Insufficient sanding leaves ridges, tool marks, and uneven textures that become increasingly visible after painting.
Excessive sanding creates a different problem by weakening the surface and generating excessive dust contamination.
Professional wall finishing typically involves controlled sanding between coats to achieve a smooth, uniform substrate capable of supporting decorative coatings effectively.
A properly sanded surface improves both appearance and paint adhesion.
Every project has budget constraints, but wall finishing is rarely the place to cut corners.
Low-quality wall finishing compound products often contain inconsistent raw materials, weaker formulations, and limited quality control. While they may reduce initial material costs, they frequently increase long-term maintenance expenses.
In our experience, projects that prioritise quality products generally experience fewer failures, reduced rework, and better long-term appearance retention.
The true cost of wall putty extends far beyond the purchase price. Product reliability, application consistency, crack resistance, and durability all contribute to overall project value.
The difference between successful and unsuccessful wall finishing projects often comes down to application discipline.
|
Common Mistake |
Professional Approach |
|
Poor surface cleaning |
Thorough wall surface preparation |
|
Incorrect mixing ratios |
Manufacturer-recommended mixing |
|
Thick coat application |
Multiple controlled thin coats |
|
Rushed drying |
Proper curing and drying intervals |
|
Moisture ignored |
Moisture assessment before application |
|
Wrong product selection |
Application-specific product choice |
|
Poor sanding |
Controlled surface finishing |
|
Low-quality materials |
Consistent quality products |
This comparison highlights a simple truth: professional results are rarely accidental.
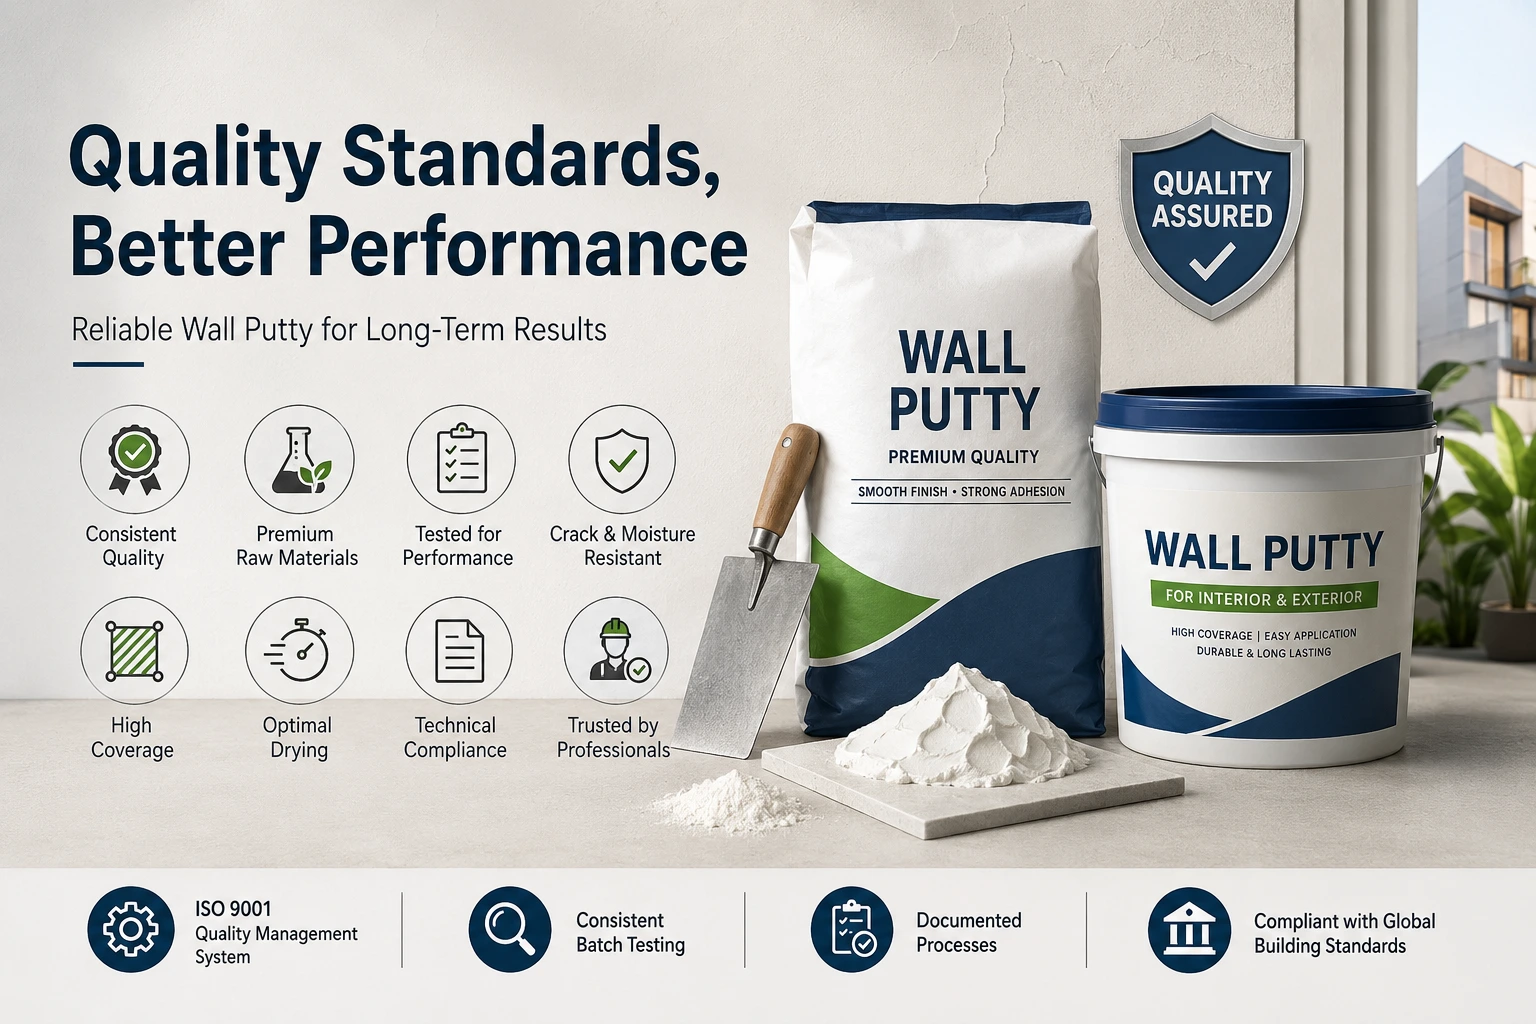
Quality materials play a major role in long-term results.
A reliable wall putty supplier India or global manufacturer should maintain consistent raw material quality, documented production processes, and ongoing quality control procedures.
Buyers should also evaluate whether manufacturers operate under recognised quality management systems such as ISO 9001 and maintain documented quality control procedures throughout production.
Consistent raw material verification, batch testing, and performance monitoring help improve product reliability, application consistency, and long-term surface performance. These quality measures provide greater confidence that the wall putty will perform as expected across different project conditions and environments.
Buyers evaluating wall putty products should consider:
Product consistency
Raw material quality
Technical specifications
Coverage rates
Drying performance
Crack resistance
Moisture resistance
These factors influence not only initial performance but also long-term durability.
Many professional contractors, builders, architects, and project owners also request product data sheets, technical specifications, application guidelines, and sample evaluations before selecting wall finishing materials.
Reviewing technical documentation alongside expected site conditions and performance requirements helps verify product suitability, reduce application risks, and support more informed decision-making. This evaluation process can contribute to better finish quality, improved durability, and more predictable project outcomes over the long term.
For guidance on construction product regulations and building performance requirements, professionals can review information available through the Australian Building Codes Board (ABCB) building guidance resources.
Wall finishing is one of those project stages where quality compounds over time.
The difference between correct and incorrect application may seem minor during installation, but the long-term outcomes can be dramatically different. A properly applied system reduces maintenance requirements, improves paint longevity, enhances appearance, and lowers lifecycle costs.
Whether the project involves residential interiors, commercial buildings, hospitality spaces, or industrial facilities, proper wall putty application creates a stronger foundation for everything that follows.
Quality wall finishing begins long before paint is applied.
At Lapifix, we believe that successful wall finishing depends on a combination of quality materials, proper surface preparation, correct application techniques, and adherence to recommended curing practices. Every stage contributes to the final appearance and long-term durability of the finished surface.
Depending on project requirements and application conditions, wall putty systems may undergo multiple quality checkpoints throughout the application process. These evaluations can include substrate inspections, mixing consistency verification, application thickness monitoring, drying assessments, adhesion checks, and final surface quality reviews before painting begins. This systematic approach helps improve finish quality, enhance surface durability, and minimise the risk of cracking, blistering, uneven finishes, and paint-related defects over time.
Our focus is on helping contractors, builders, architects, and homeowners achieve reliable wall finishing outcomes across residential, commercial, and industrial projects. Whether the requirement involves interior wall putty, exterior wall putty, waterproof wall putty, or specialised finishing systems, maintaining consistent application standards remains essential.
Based on our experience across residential, commercial, and renovation projects, walls that receive proper surface preparation, controlled application thickness, adequate drying time, and careful quality checks consistently achieve stronger paint adhesion, smoother finishes, and better long-term durability.
By comparison, projects where these critical steps are rushed often experience avoidable issues such as hairline cracking, blistering, uneven finishes, reduced paint durability, and premature maintenance requirements. This practical observation reinforces the importance of following recommended wall putty application procedures throughout every stage of the finishing process.
Many professional contractors and project owners also perform sample applications on small test areas before proceeding with full-scale wall finishing work. This allows them to evaluate surface compatibility, application behaviour, drying performance, and finish quality under actual site conditions, helping reduce risks and improve project outcomes.
Professionals looking to improve surface quality can also explore our guide on waterproof wall putty vs regular wall putty to better understand product selection for different project environments.
Wall putty failures rarely appear without warning.
In many cases, early signs become visible before major paint defects occur. Identifying these indicators early allows corrective action before expensive repairs become necessary.
Some common warning signs include:
Hairline surface cracks
Uneven wall texture
Powdery surface formation
Paint bubbling
Blistering coatings
Peeling paint edges
Visible moisture staining
Poor paint adhesion
When these symptoms appear, it is important to investigate the root cause rather than simply repainting the affected area. Treating symptoms without addressing underlying problems often leads to recurring failures.
Many finishing issues can technically be repaired. However, prevention almost always delivers better results.
Wall putty crack repair, repainting, surface grinding, moisture remediation, and repeated labour costs can quickly exceed the investment required to follow proper application practices from the beginning.
Think of it like vehicle maintenance. Regular servicing is far less expensive than replacing a failed engine. Wall finishing follows a similar principle. Proper wall surface preparation, correct material selection, controlled application, and adequate curing dramatically reduce future maintenance requirements.
The most successful projects focus on getting the fundamentals right the first time.
Construction standards continue to evolve as expectations for durability, sustainability, and finish quality increase.
Modern contractors and project owners are becoming more aware of the relationship between substrate preparation, wall putty performance, and coating longevity. As a result, there is growing demand for high-performance white cement wall putty, advanced waterproof wall putty solutions, and application systems designed to withstand challenging environmental conditions.
At the same time, manufacturers continue to improve product formulations to deliver better crack resistance, improved adhesion, enhanced moisture protection, and greater application consistency.
The future of wall finishing will increasingly reward projects that prioritise quality processes rather than simply focusing on short-term cost savings.
Wall putty plays a far more important role in paint performance than many people realise. Problems such as peeling paint, blistering, cracking, uneven finishes, and adhesion failures often originate from mistakes made during wall surface preparation, mixing, application, drying, or product selection.
By understanding these common wall putty application mistakes and following proven professional practices, contractors and property owners can achieve smoother walls, stronger paint adhesion, and significantly longer-lasting finishes.
If you're planning a residential, commercial, or renovation project, Lapifix can help you build the right foundation before painting begins. From premium wall finishing solutions to expert guidance on product selection and application practices, our team is committed to helping you achieve durable, professional-quality results. Explore our wall finishing and construction solutions and connect with Lapifix today to discuss your project requirements.
Yes. Many paint-related problems originate from issues within the wall putty layer rather than the paint itself. Poor surface preparation, incorrect mixing ratios, excessive thickness, inadequate drying time, and moisture exposure can all weaken adhesion and lead to premature paint failure.
Wall putty drying time varies depending on product type, temperature, humidity, ventilation, and application thickness. Under normal conditions, the surface may become touch dry within a few hours, while full curing can require 24–48 hours or longer. Always follow manufacturer recommendations before applying primer or paint.
The best wall putty for painting depends on project requirements. White cement wall putty is commonly selected for durability and moisture resistance, while acrylic wall putty may be preferred for specific interior applications. Product selection should always match the substrate and environmental conditions.
No. Waterproof wall putty can improve resistance to moisture exposure, but it should not be considered a substitute for proper waterproofing systems. Existing leaks, seepage, or structural moisture problems should be resolved before putty application begins.
Cracks can develop because of excessive coat thickness, poor surface preparation, rapid drying, incorrect mixing ratios, substrate movement, or moisture-related issues. Identifying the root cause is essential before attempting repairs.
Proper wall surface preparation, correct mixing practices, controlled application thickness, adequate drying time, appropriate product selection, and quality materials all contribute to better wall putty performance. Following professional application practices significantly improves paint adhesion and long-term finish quality.